


Cards to Give (& Perhaps Receive)
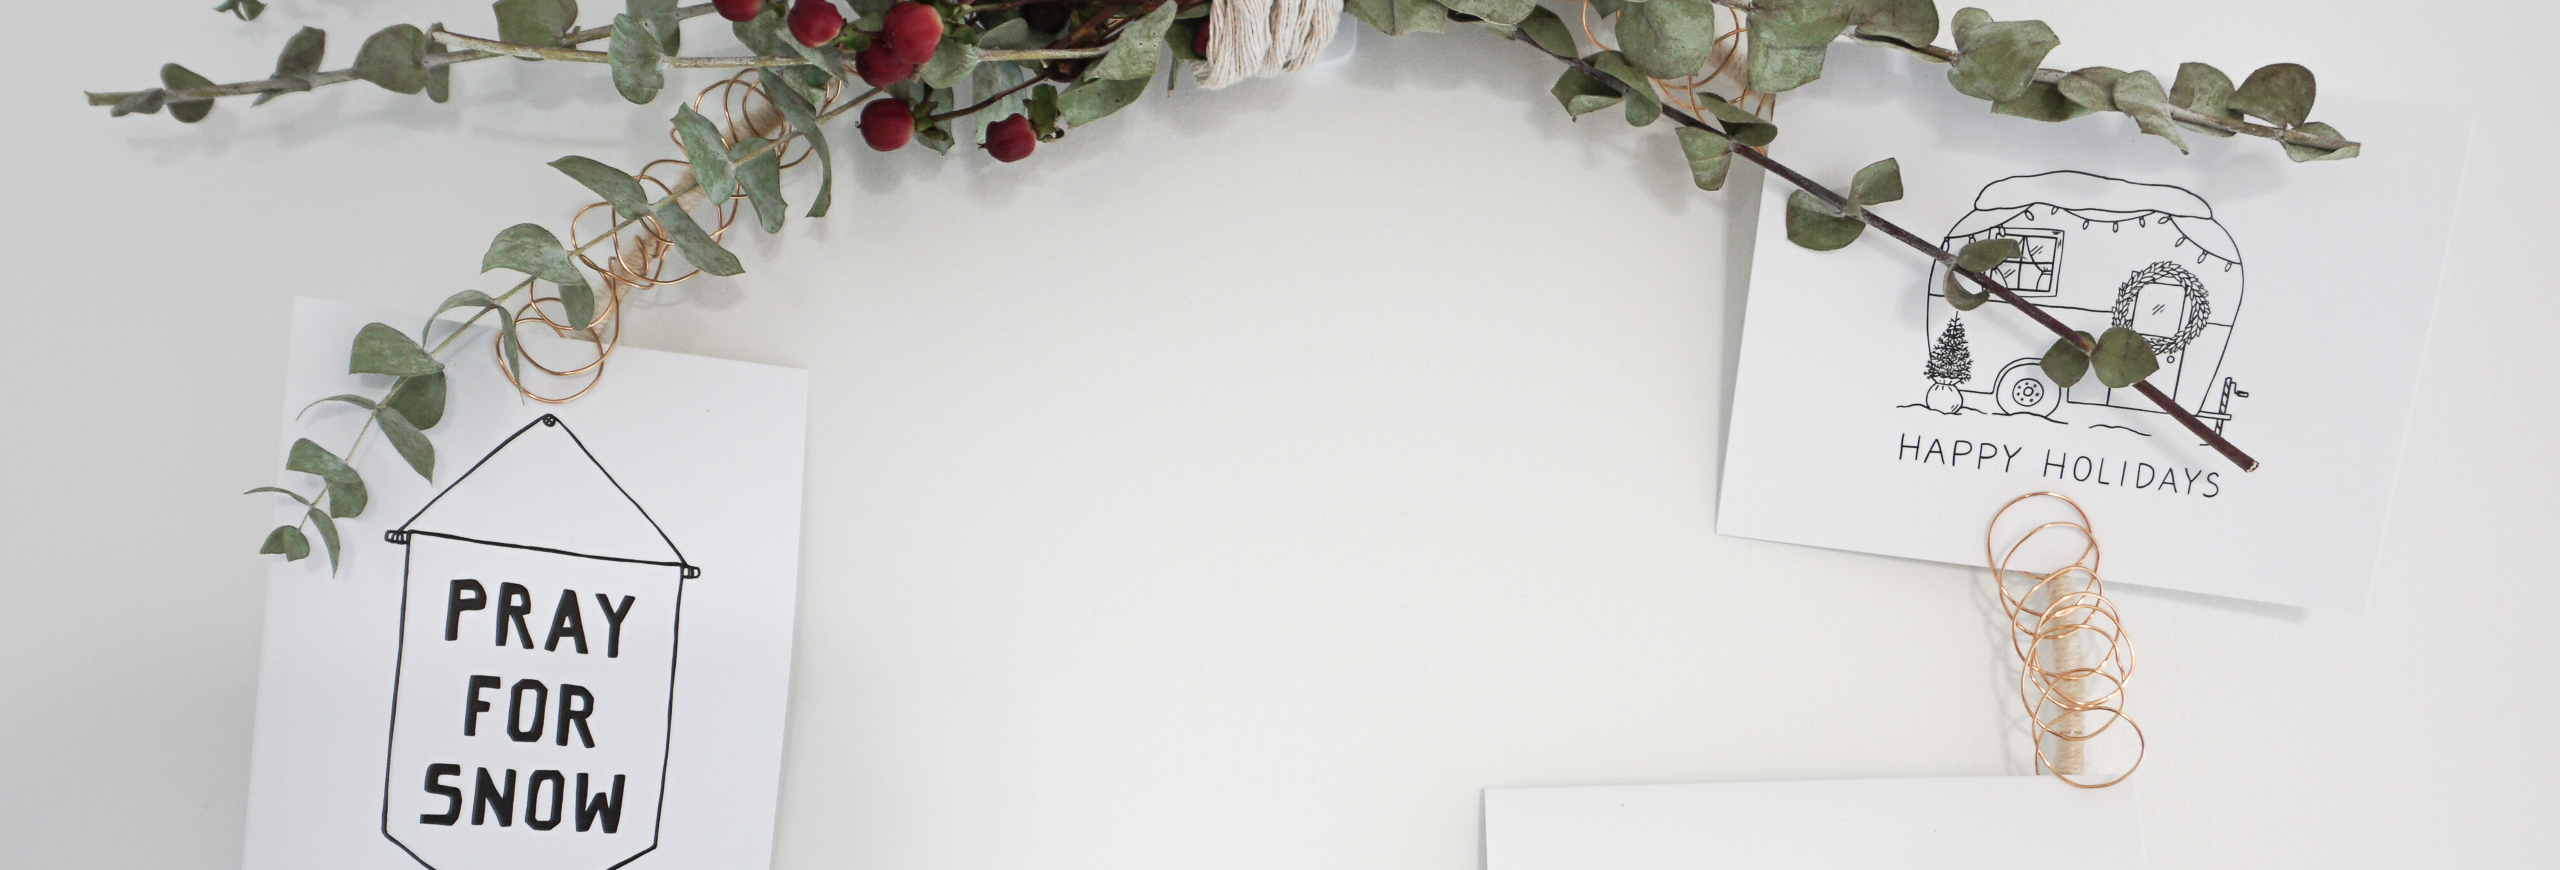
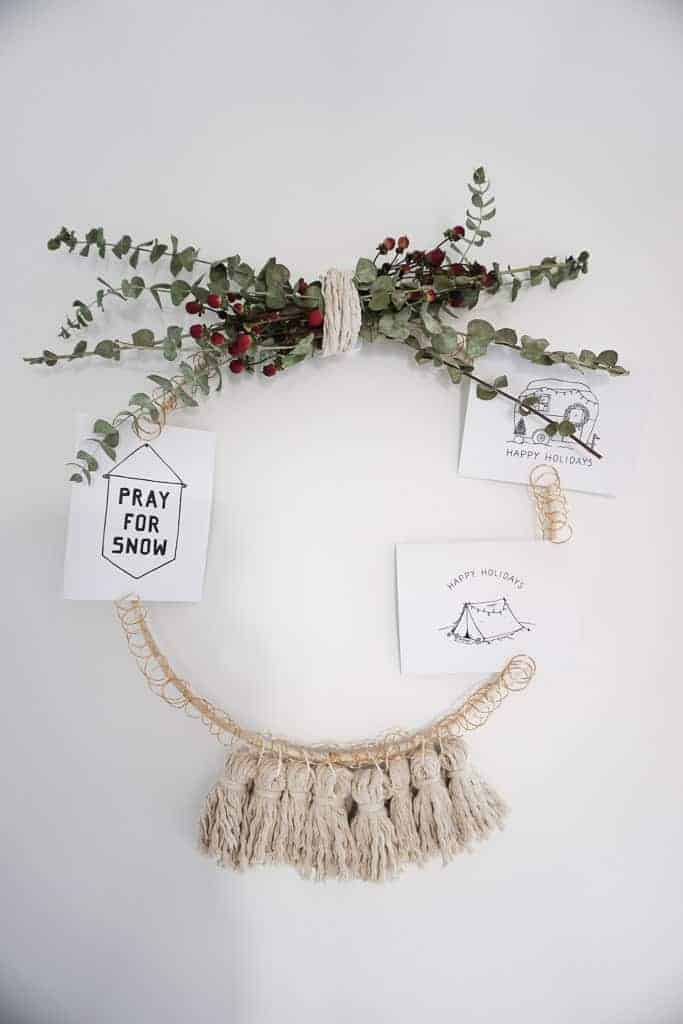
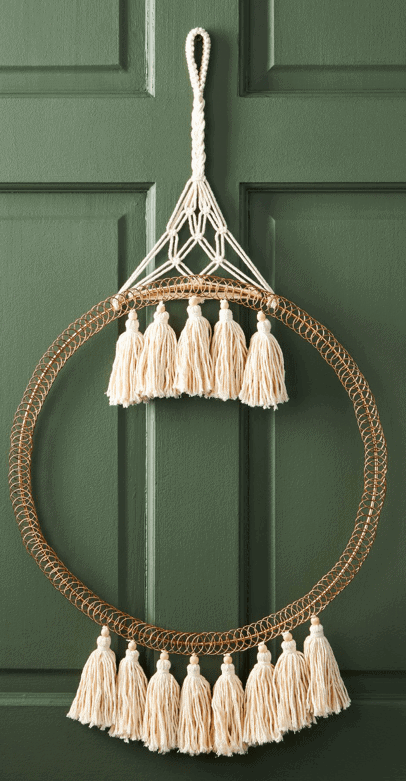
My D.I.Y Christmas card holder is currently not filled with holiday cards I’ve received from others (it is November, after all), but cards I will be filling out to give to others. My amazing friend, Lauren, designed these beautiful holiday cards that I am obsessed with.
She is a local North Vancouverite with so much talent. She has a beautiful Etsy shop (cards are linked here) and is a fabulous graphic designer – she has done so much for me, including my logos for Signed Samantha. You can inquire about her graphic work via Instagram or her website. If you’re local to North Vancouver or Squamish, she is doing free delivery of cards. If you’re not local, you can send her a DM via Instagram or order via Etsy.

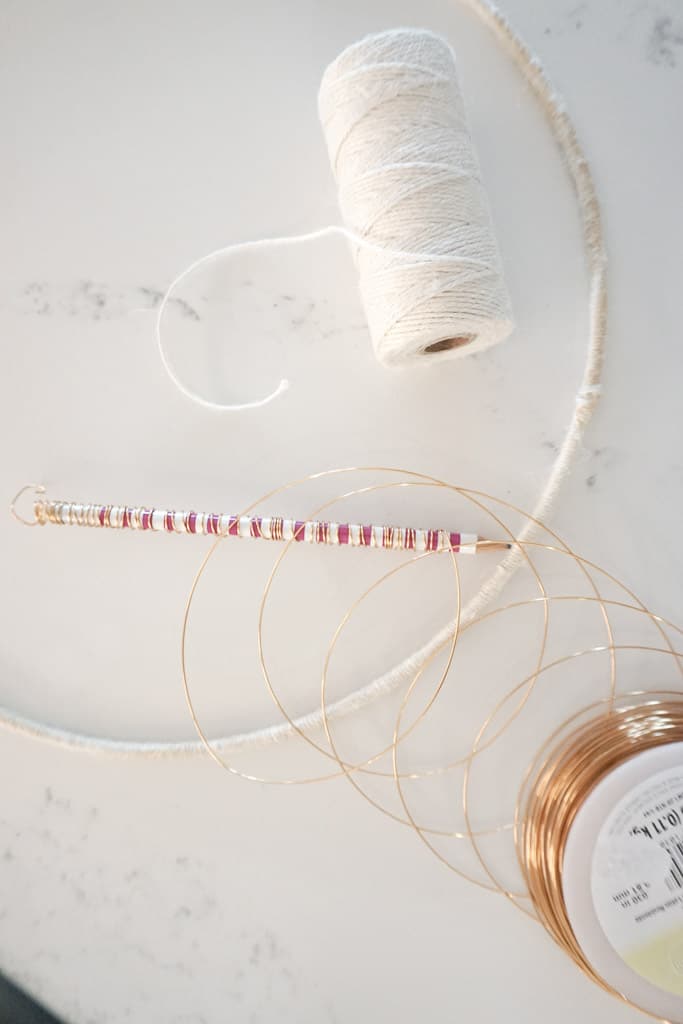


I I hopped on the DIY Christmas ornament train again this year! In 2020, I made some simple DIY Chri

We are coming close to the last D.I.Y of the holidays with this D.I.Y wood bead garland. This is th
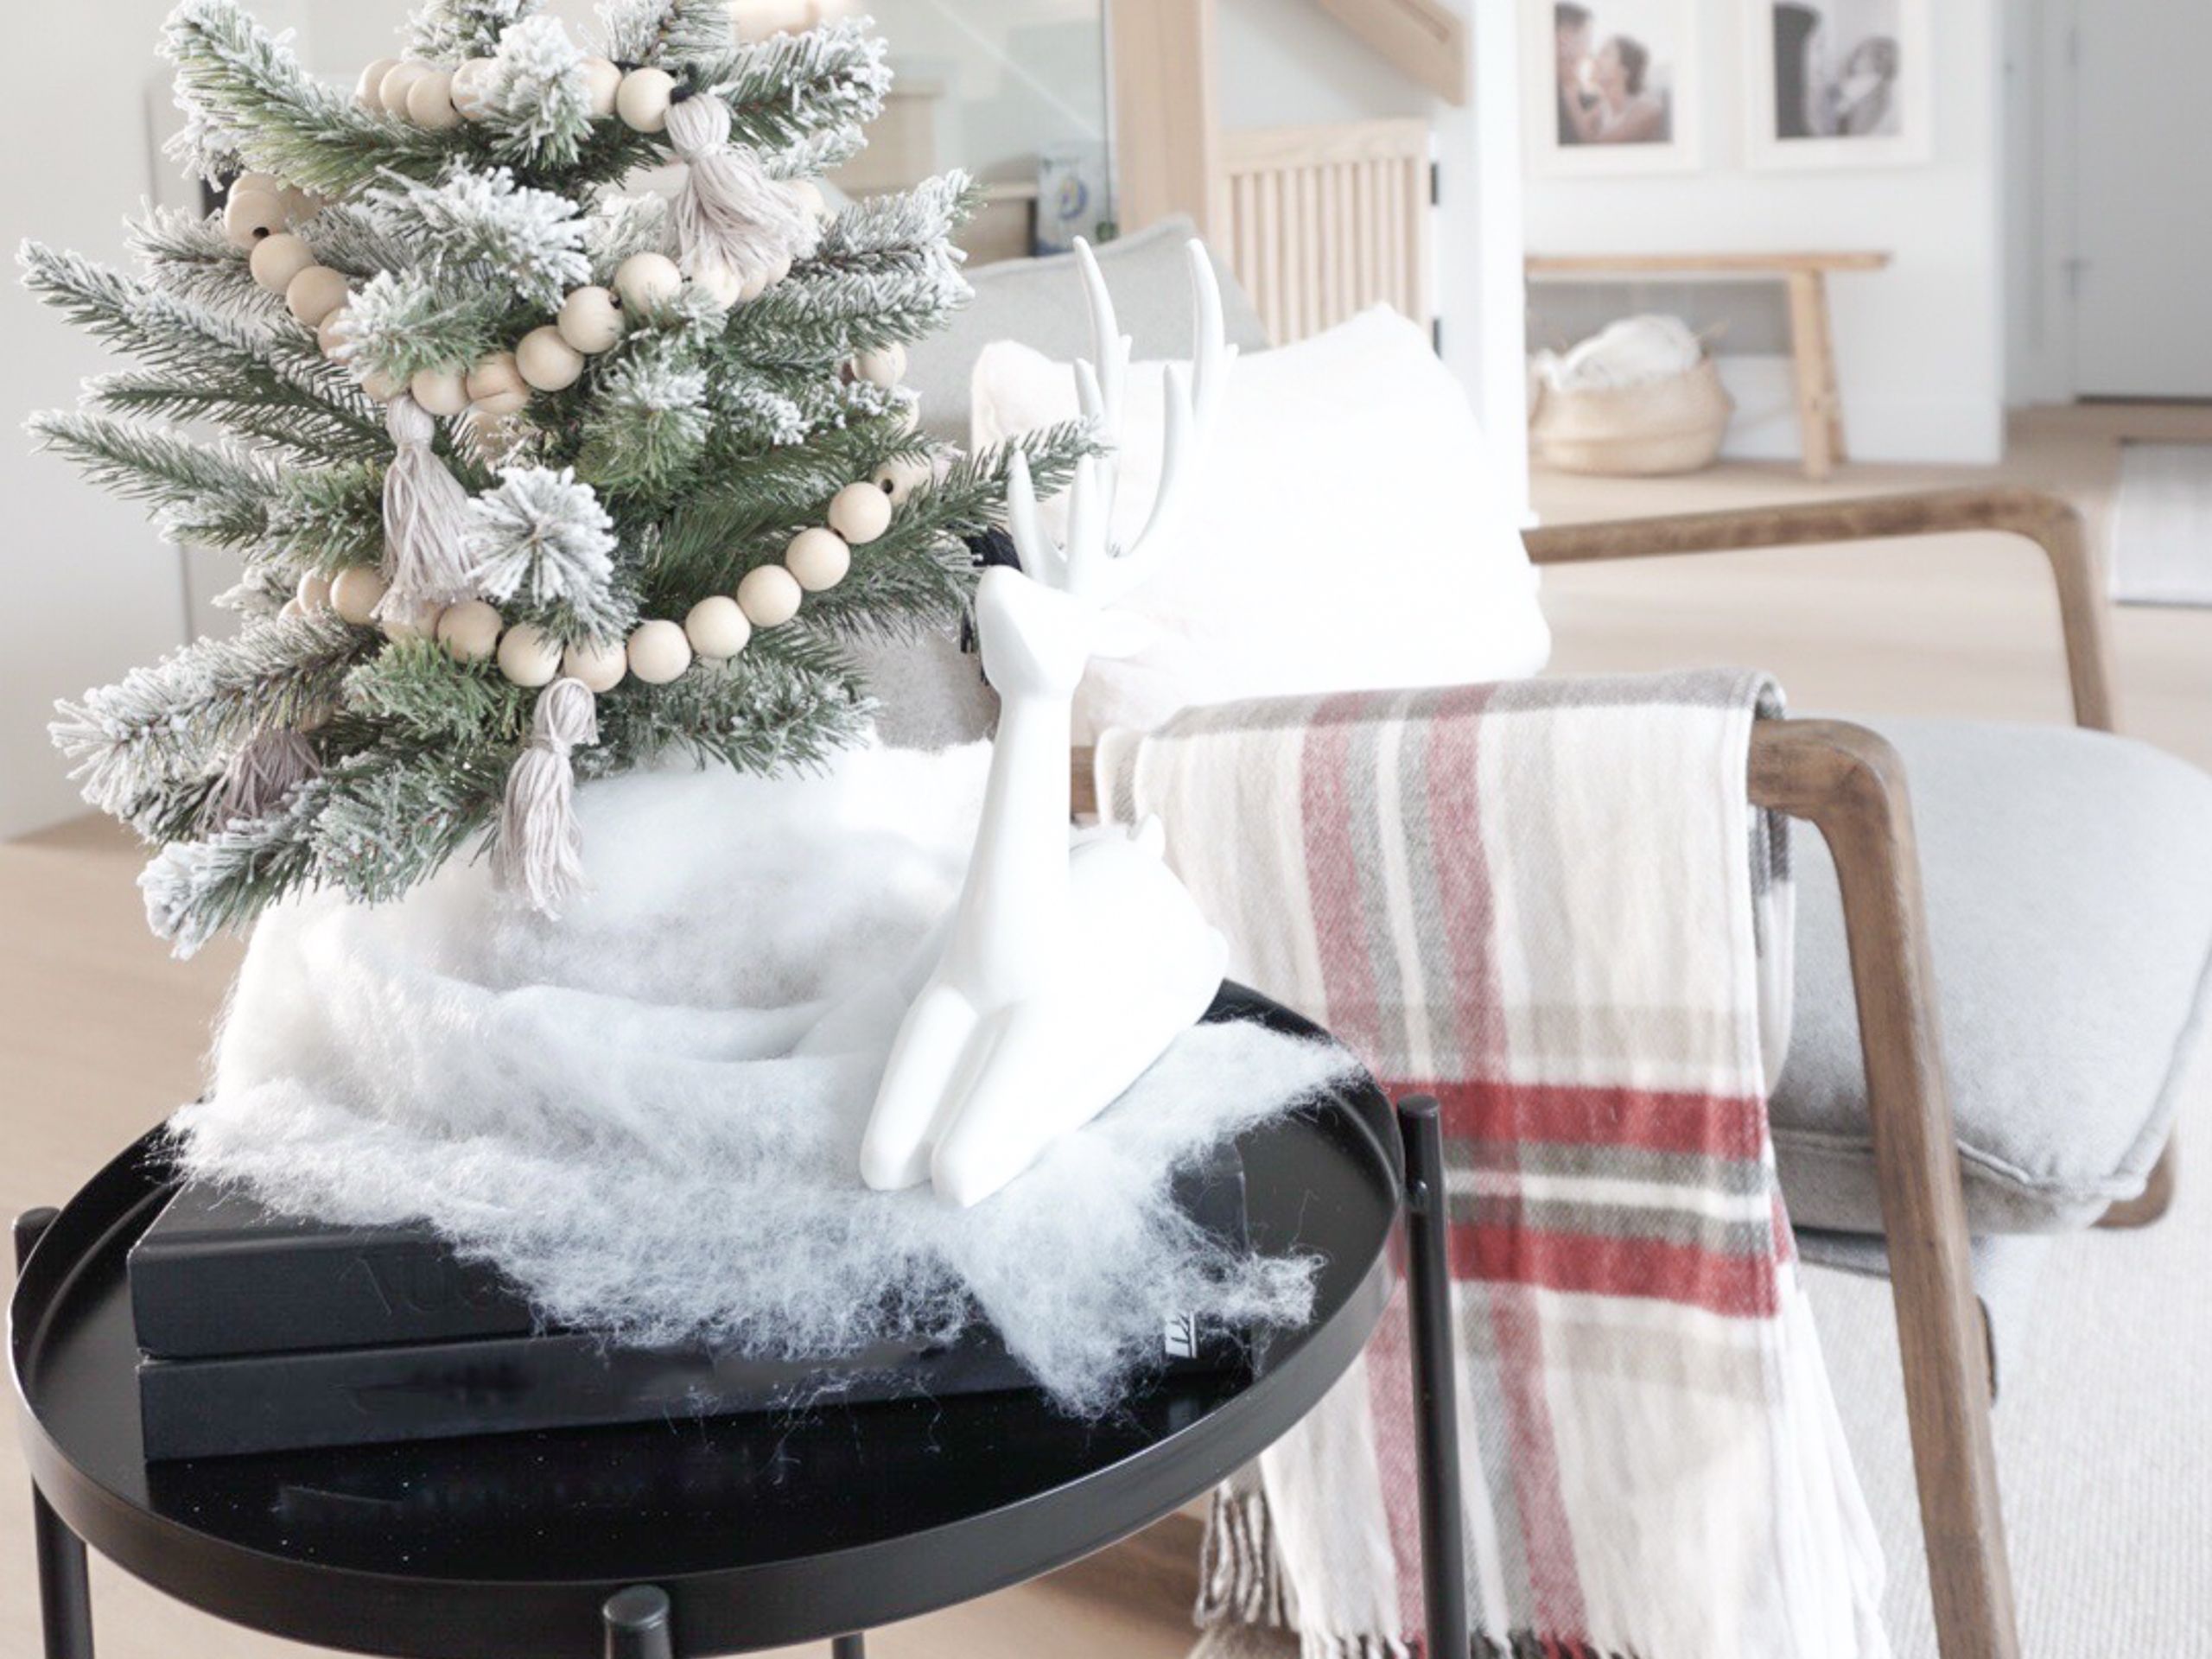
It's November 3rd, and here I am talking about my 2020 holiday decor already. This one can go down i

Erin
Aww this is such a sweet idea & turned out beautiful! Also, absolutely loving the place-holder Christmas cards your friends created. So stinkin cute!!