


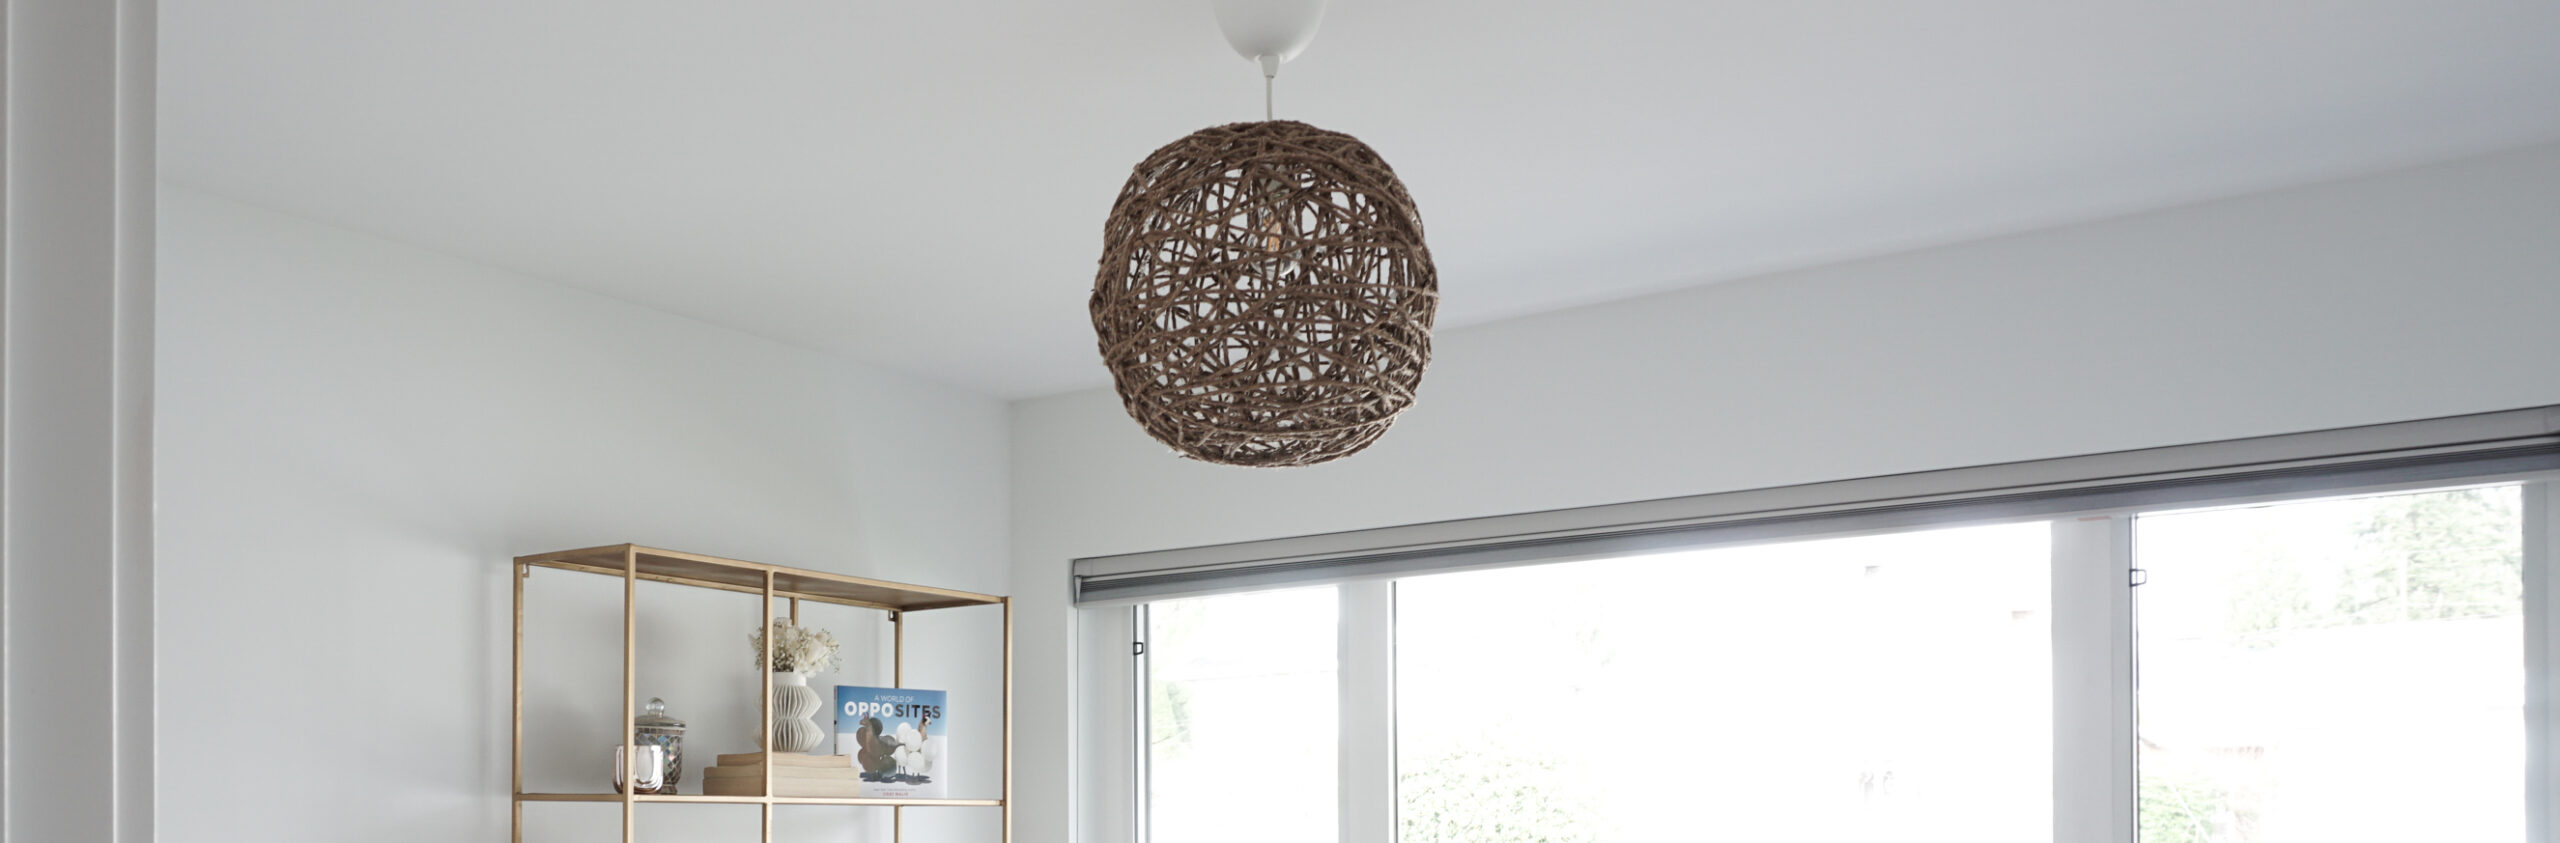

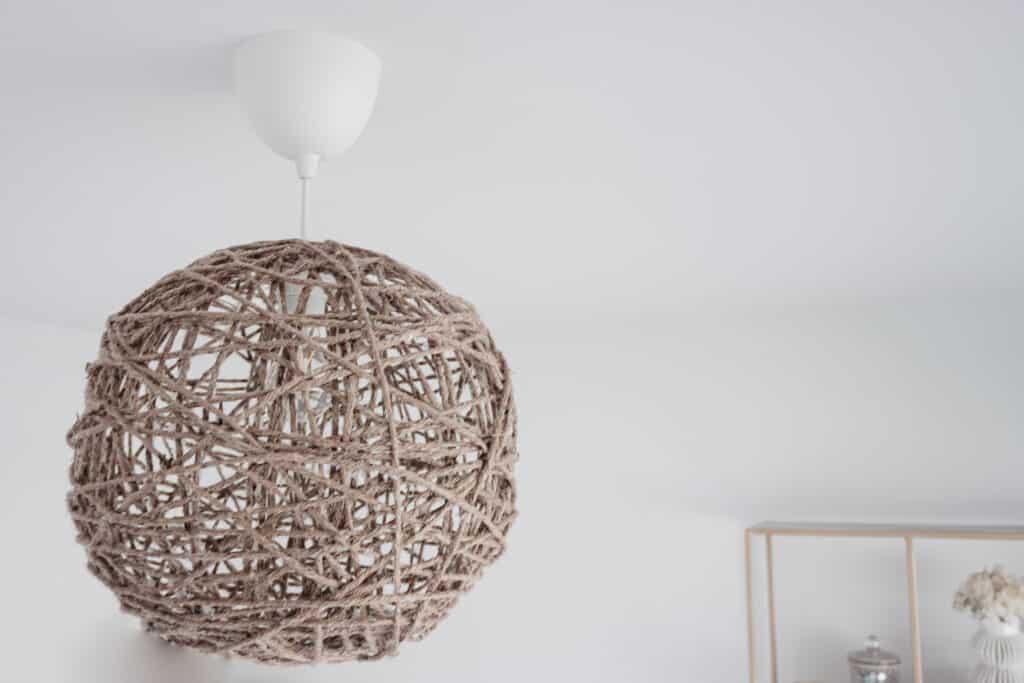
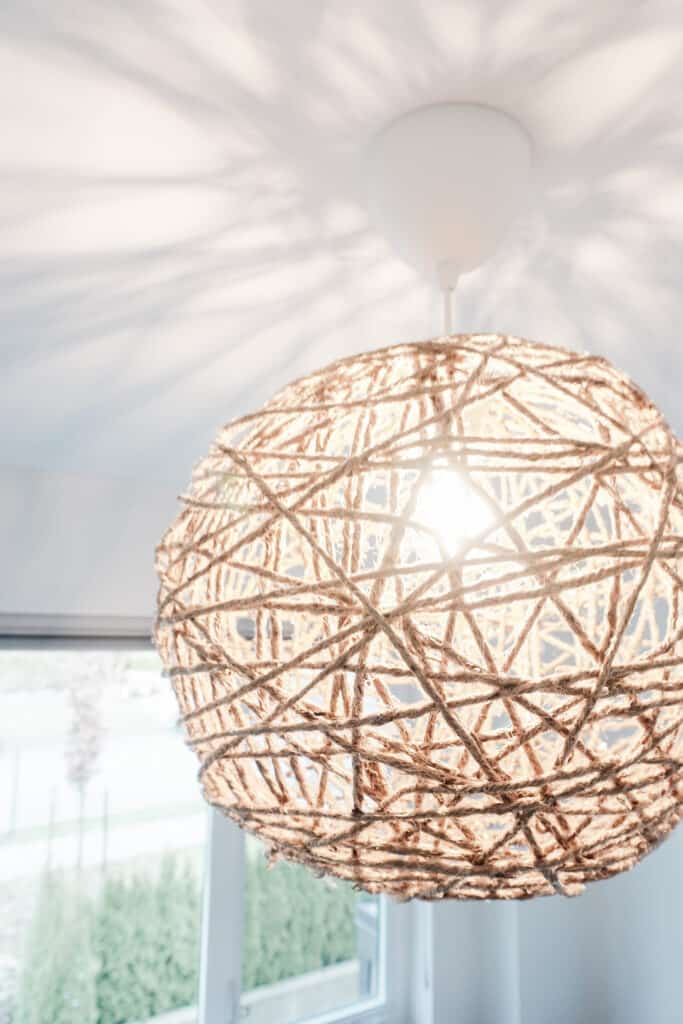
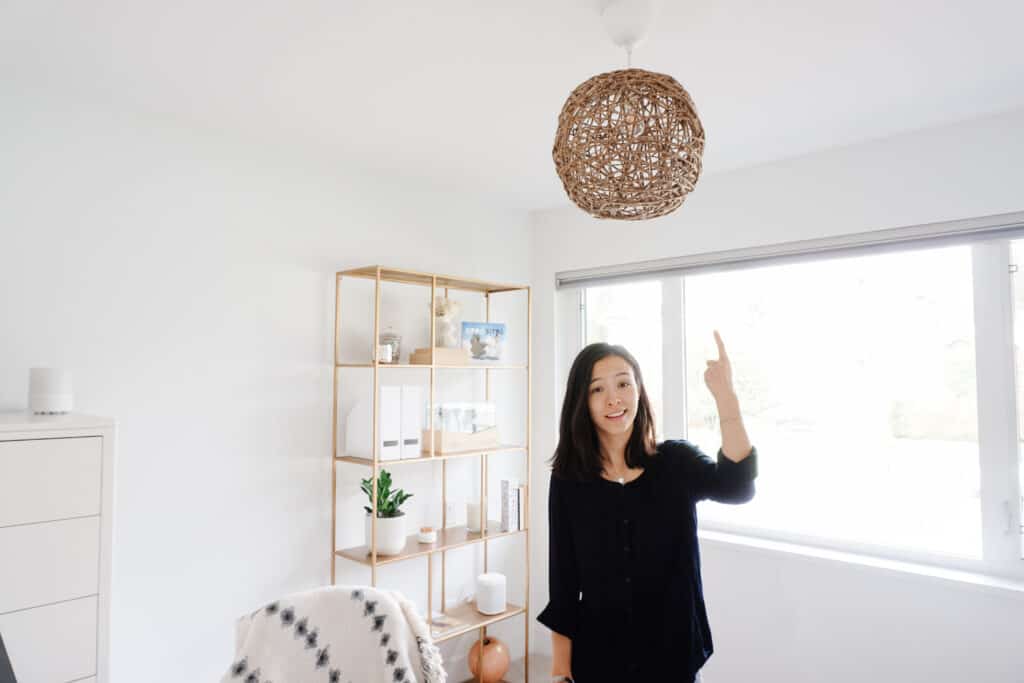
How to Make a D.I.Y Pendant Light
Materials
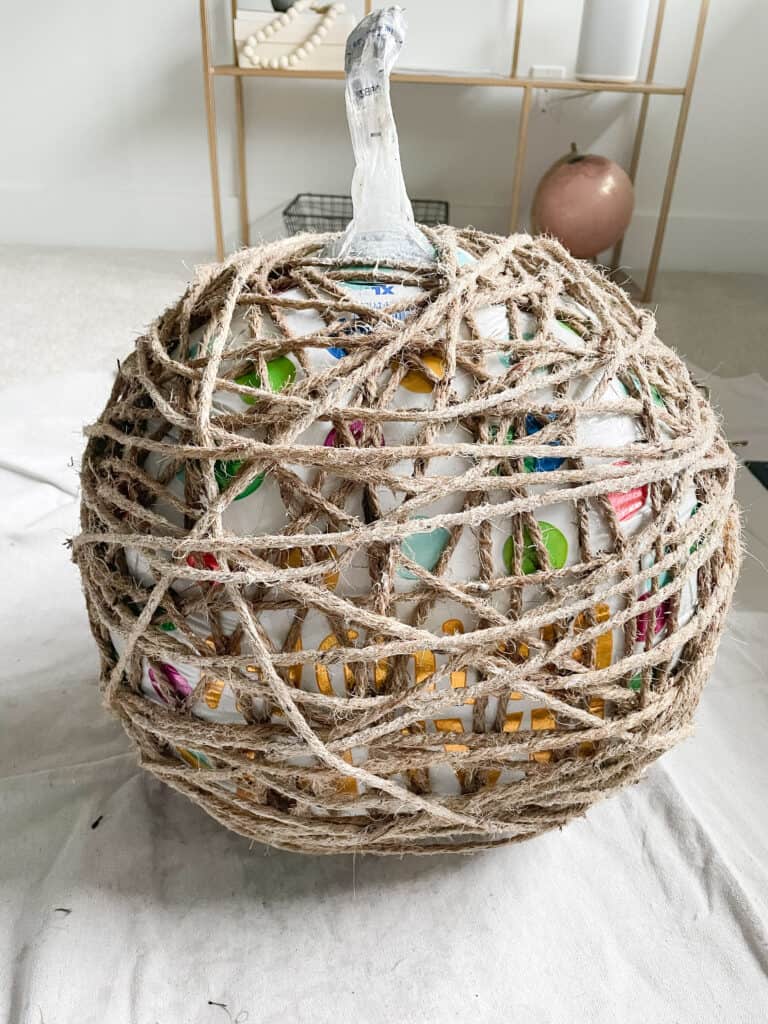
+ Balloon of your choosing (mine was almost a square/circular shape if that makes sense and 12″ large from Party City – very similar ones here).
+ Jute cord (mine was 176 ft and I only have a little bit left). Hot tip: it’s $4.00 at Dollarama
+ Mod Podge (I used over half of this matte one for my 12 inch balloon)
+ Disposable gloves (something like these – we had some on hand)
+ Drop cloth (or something similar to minimize your mess)
+ Light fixture (I used this Ikea one) + light blub


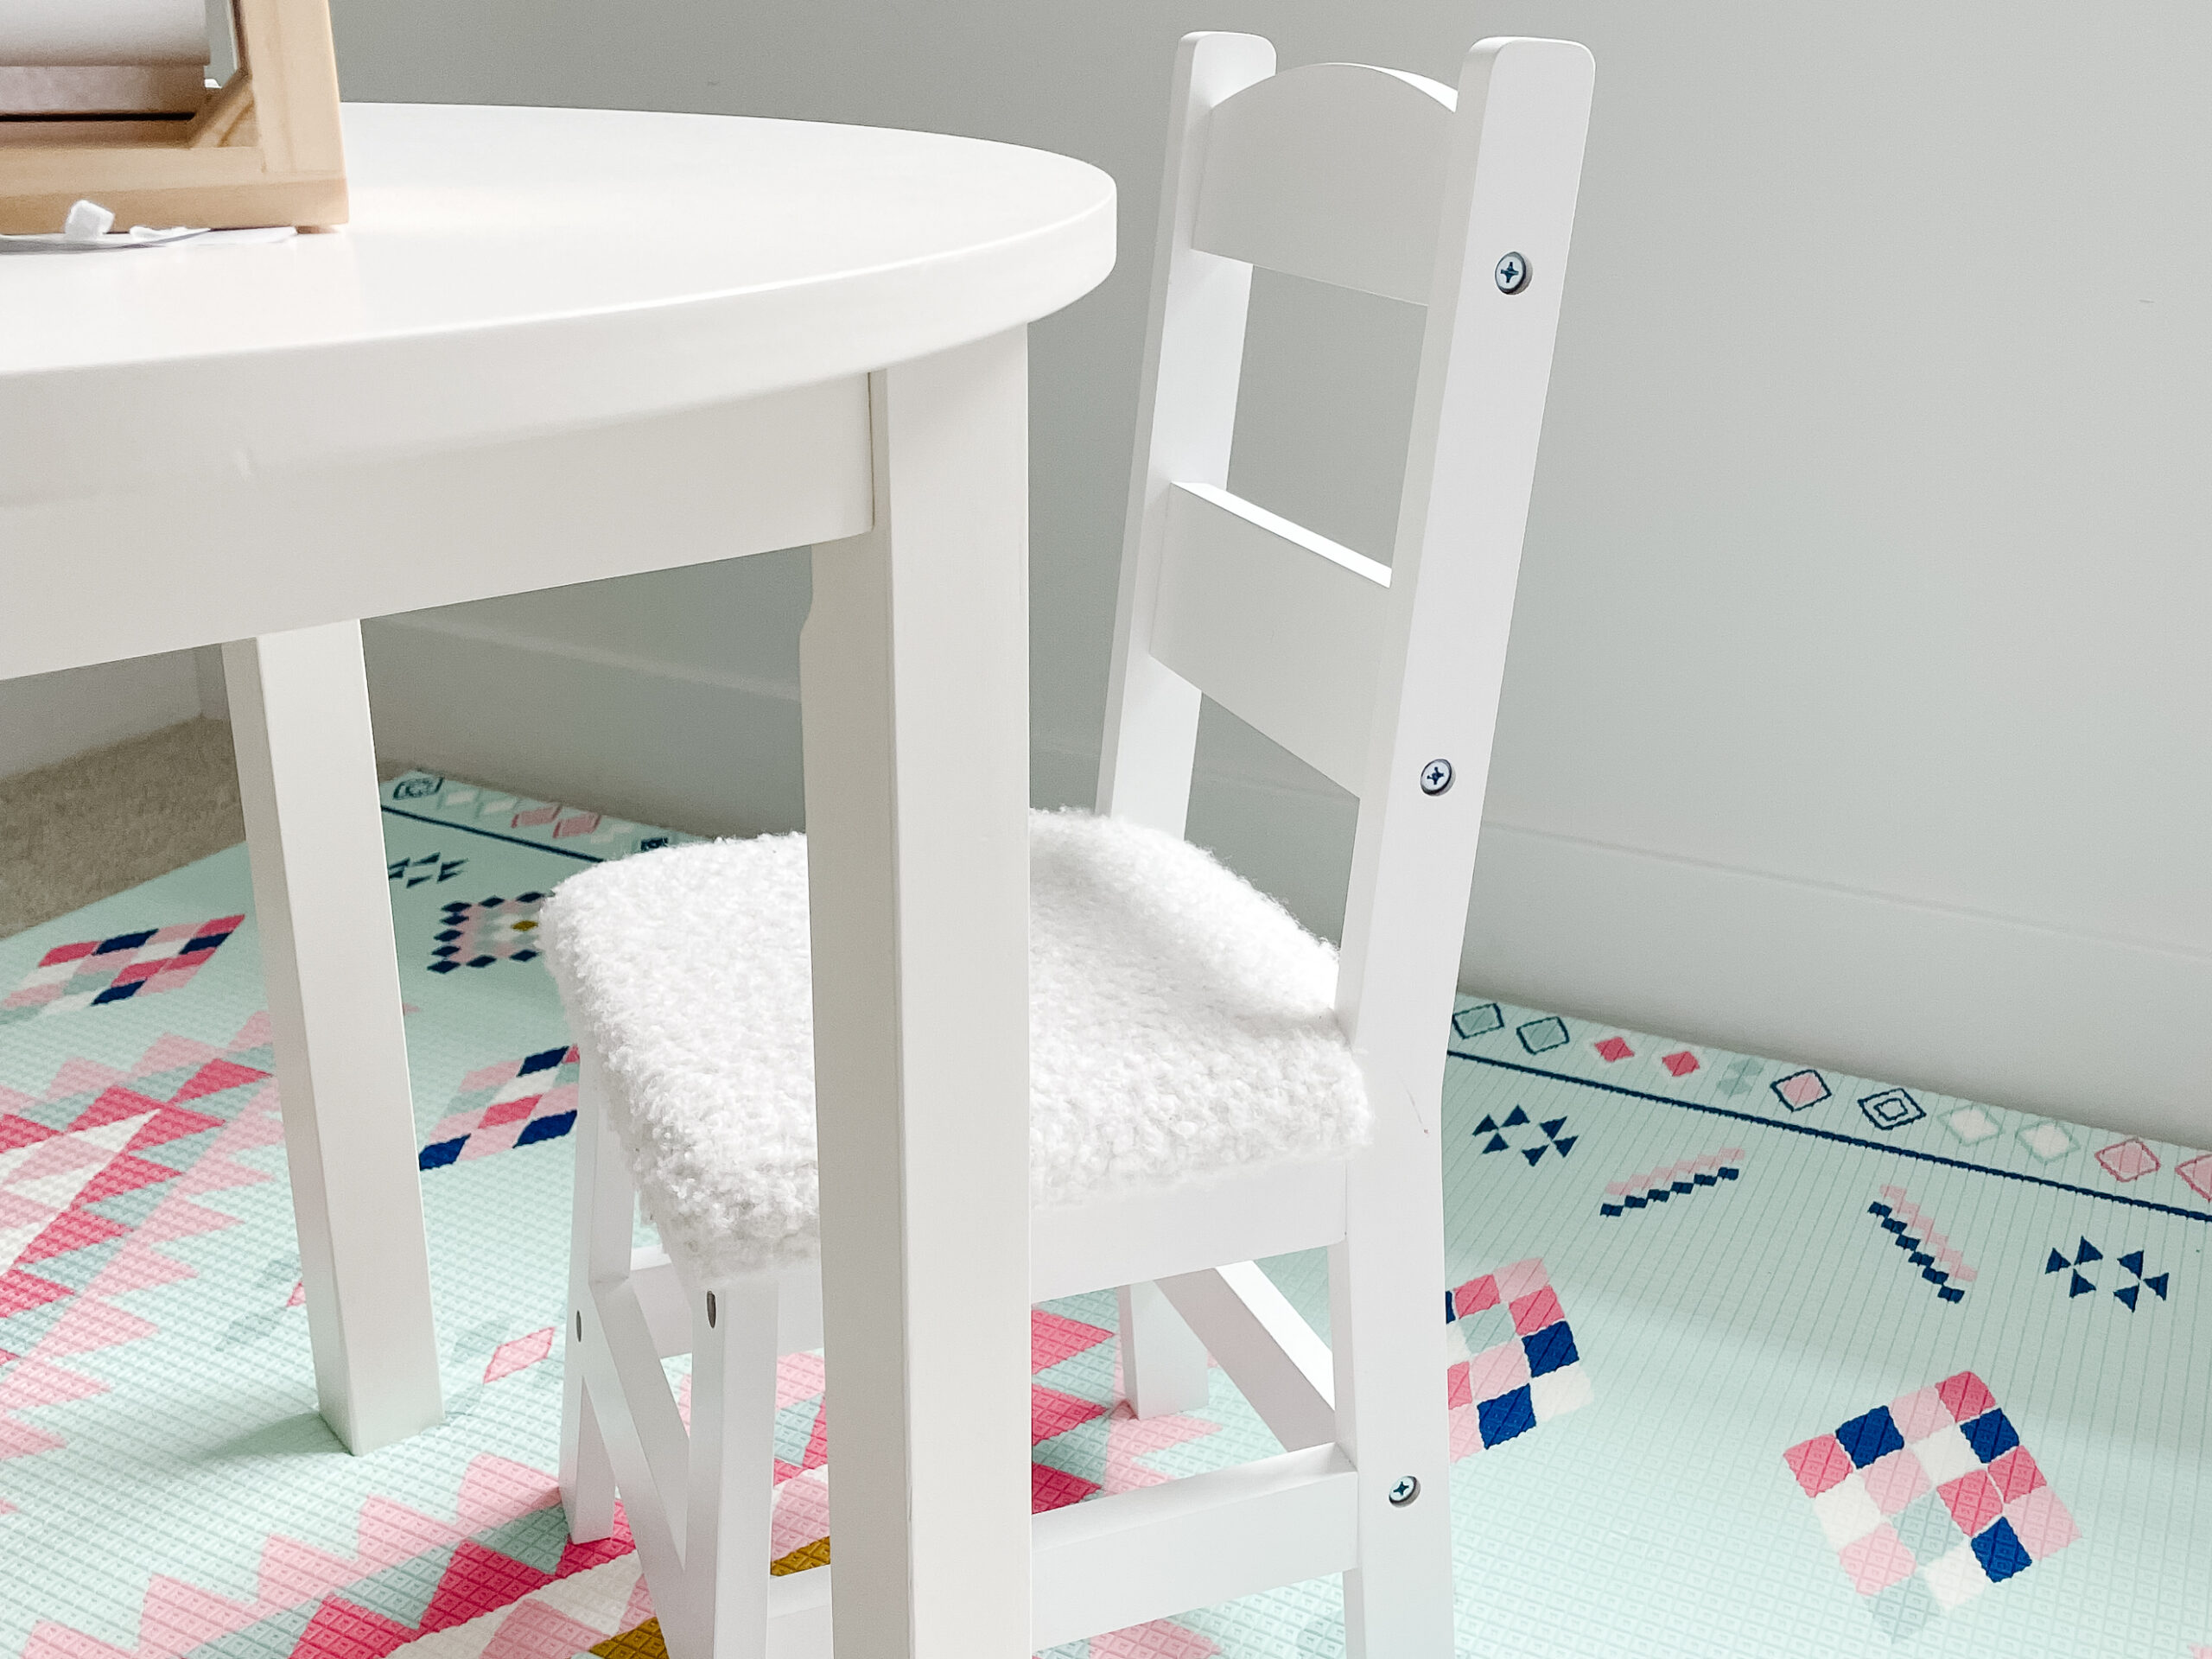
I am so excited about this one, you guys! I really wanted these ridiculously expensive chairs for Sl

Let's be honest here. I am not the world's best sewer. Having not picked up a sewing machine since h
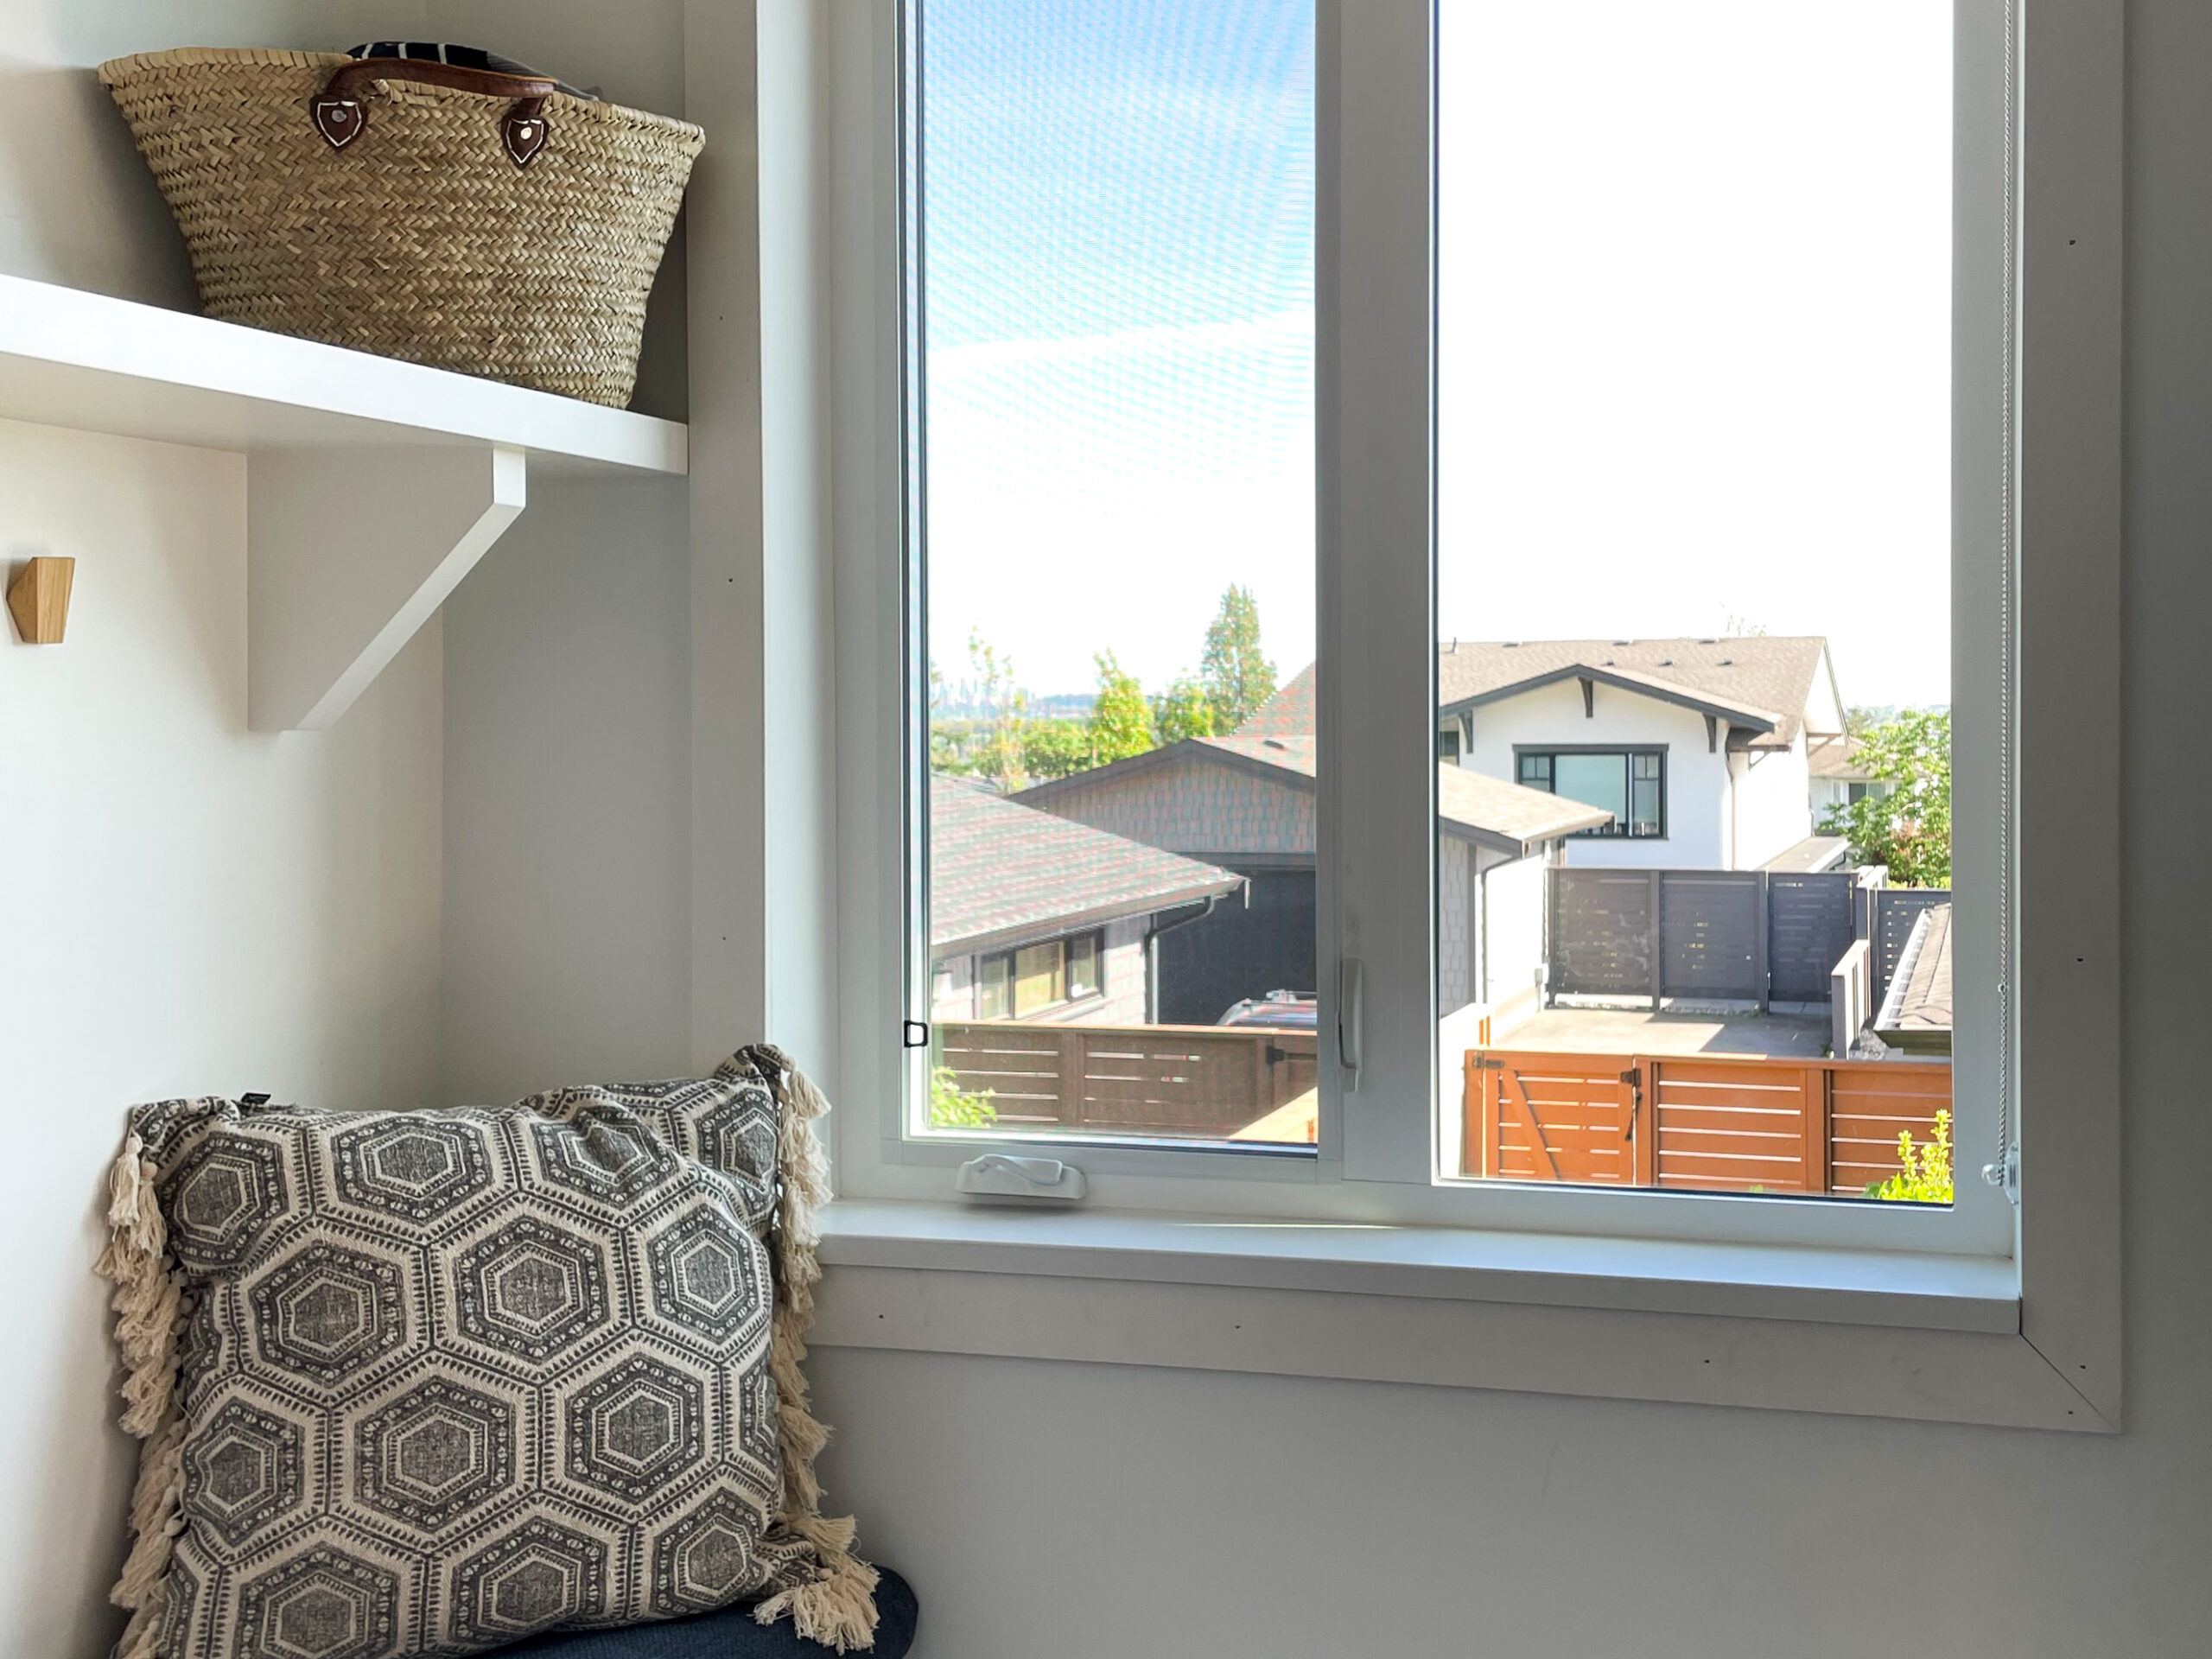
This mudroom makeover is taking far longer and is far more expensive than I thought it would be. Say
Comments
-
-
Samantha
Thank you so much, Erin! A few people have suggested this to me! I would be SO nervous to ship them haha!!!
-
-
Sherri
Wow. Samantha. Gorgeous. Congrats and well done. I’m am incredibly impressed.
-
Samantha
Thank you so much, Sherri! I’m quite impressed with myself as well LOL! Always good to surprise yourself here and there!
-

Erin
This turned out gorgeous!! Like holy moly you should sell these 😍