


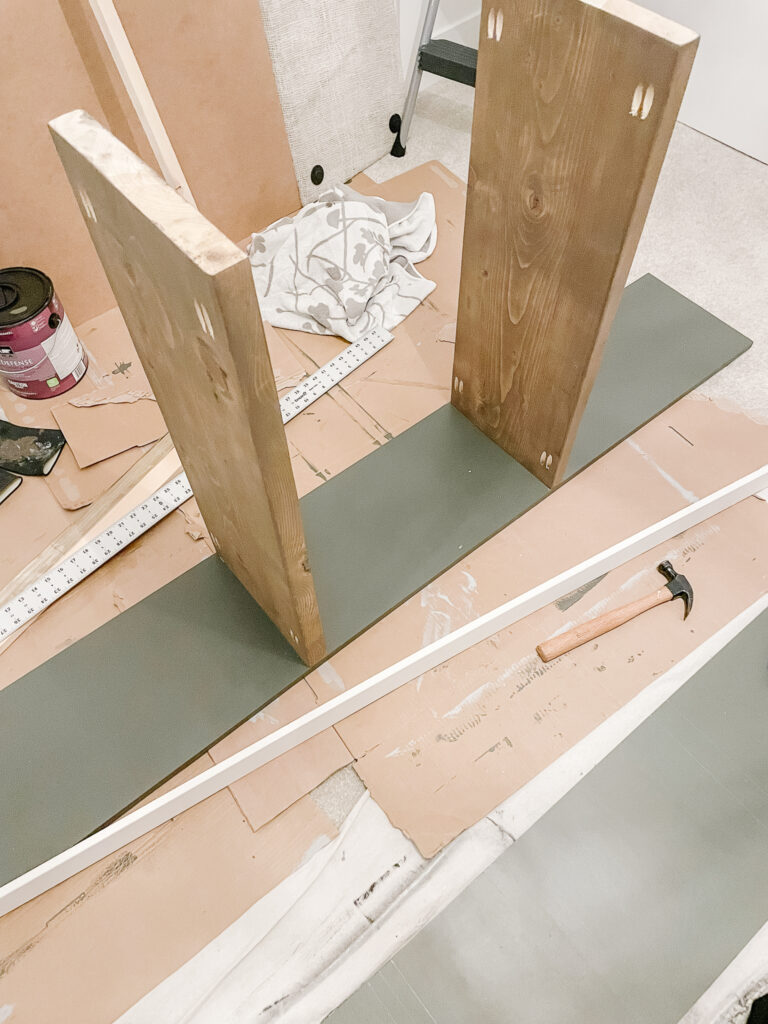
Here are the tools and materials you need to make your built-in bookshelf
Recommended Tools to Make Your Life Easier When Building Built-in Bookshelves
- Circular Saw
- Kreg Rip-Cut Jig
- Mitre Saw
- Kreg Pocket Hole Jig (big advocate for the 720 pro!)
- Drill
- Orbital Sander
- Nail Gun


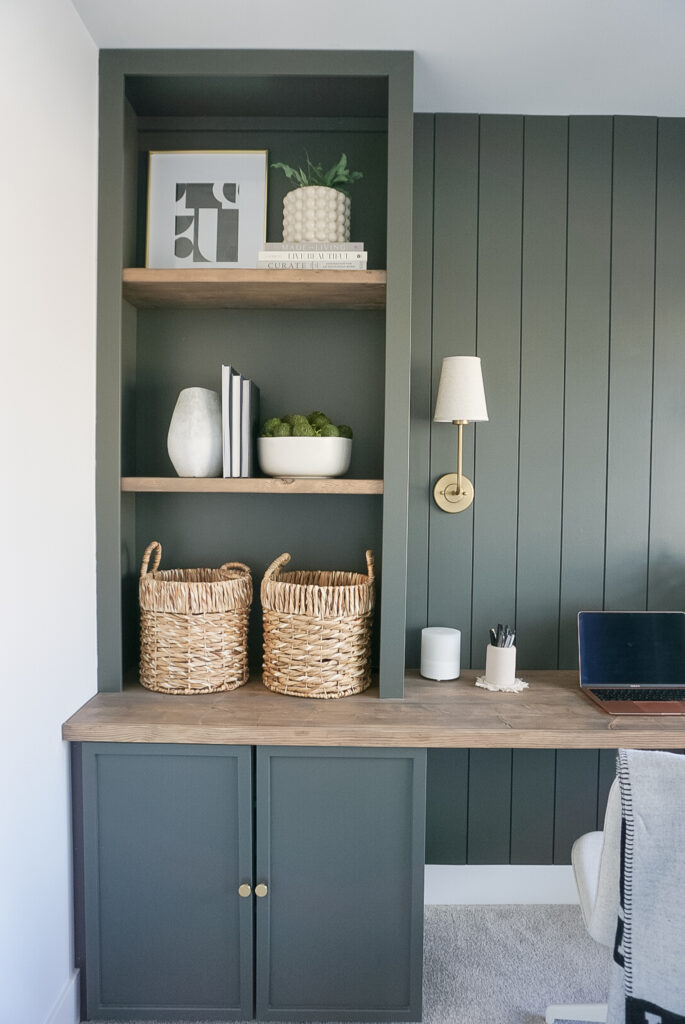


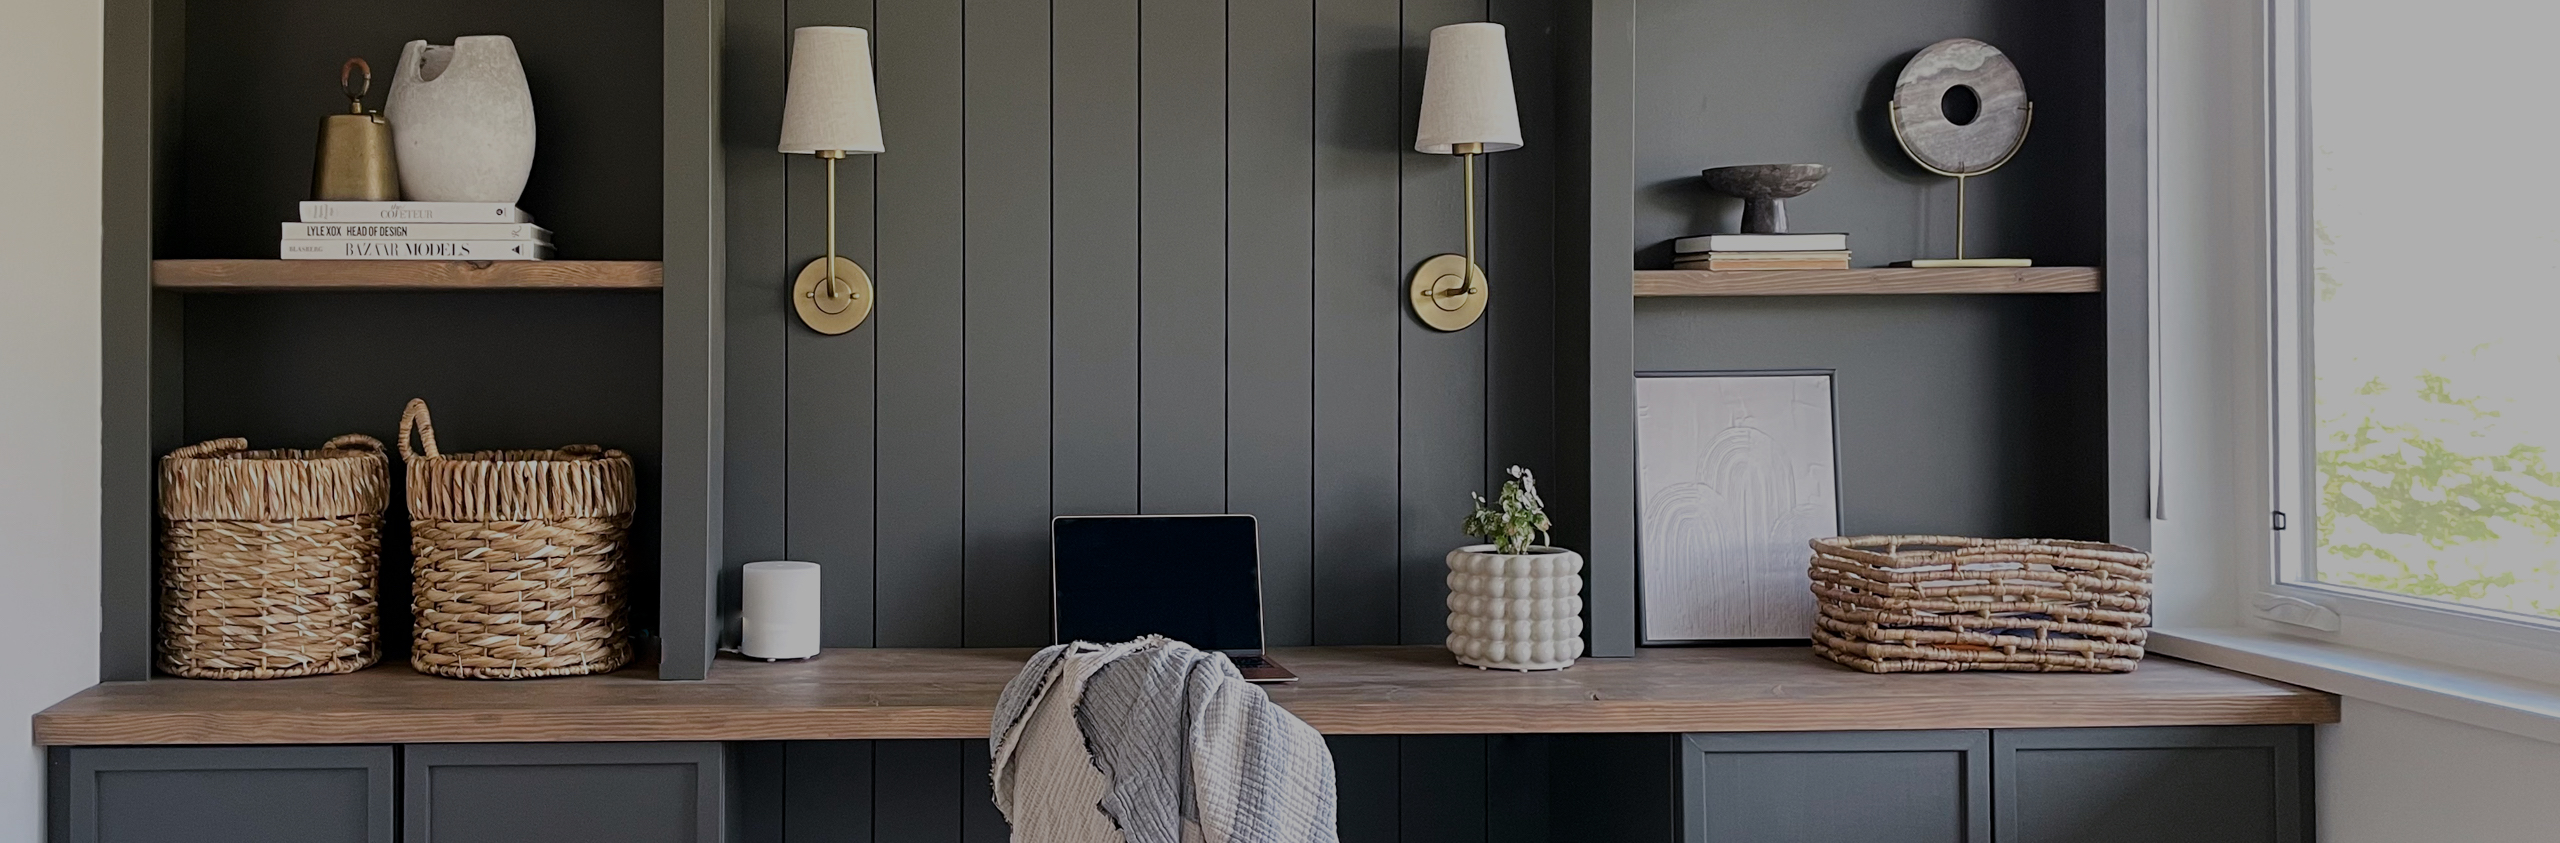
My first full-room makeover and my pride and joy is most certainly my home office space. I completed

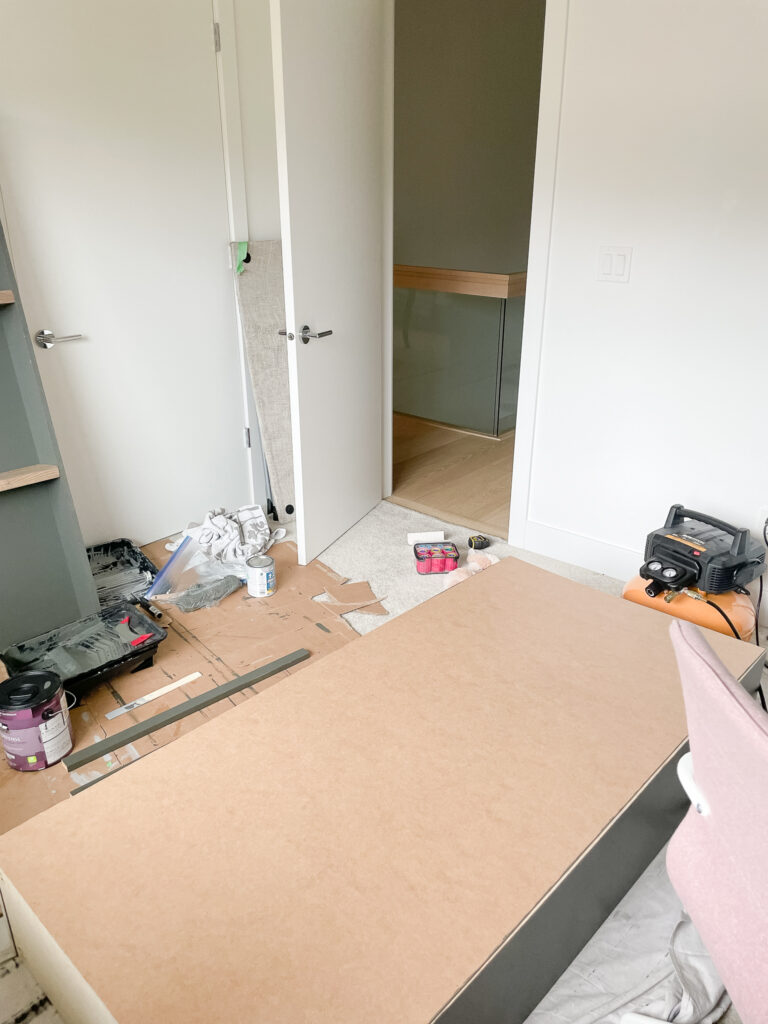
There's a few really good reasons as to why you might want to build a base for your ikea cabinet. Th

You were doubting that this was actually an office for a while, weren't you? Honestly, I was too. Un
Comments
-
-
Samantha
Thank you so much! I used Benjamin Moore – Ashwood Moss!
-
Lisa
I have tried to get samples Ashwood Moss twice and they both look totally black on my walls 😖 sooo dark. But I love it here. I’m not sure where I went wrong.
-
Samantha
Oh that’s so frustrating! It may be the orientation of your room and the natural light that comes in making it look more black?!
-
-
Yan
J’aimerais savoir ou vous avez pris les caisson du bas avec les 2 portes
-
-
-
-
Doriane
Hello ! I love it !
Where are you find this boards ?-
Samantha
Hi There! Thanks so much. I found everything at Home Depot.
-
-
Deanna
What brand of stain did you use?
-
Samantha
Hi Deanna. Great question – I used Varathane. I can’t believe I missed noting that – I just added it to the post! Thanks for asking!
-
-
Louise
Hi,
How big is this room and what’s the ceiling height?? -
Samantha
Hi Louise. The ceiling heights are 8 ft tall and the wall with the built-in is 10 ft long. the other wall is about 11 ft long.
-
THD
This is so gorgeous! Can you provide a link of where your light sconces are from?
-
-
Megan
Any info about your main ceiling light? I see in the tutorial pics its a coastal/ basket vibe, but in your pop up email newsletter link its a different one. Love them both! Would love to see details 🙂
-
Samantha
Thanks so much, Megan! So I started with the first light you’re referencing – I actually made it and have the post here (https://signedsamantha.com/d-i-y-pendant-light) the other light, I got from world market and absolutely LOVE – it might be one of my favourites in the house (here it is: https://bit.ly/3Y7yDWP). Hope that helps!
-
-
Devin keeler
How wide are the bookshelves??
-
Samantha
They are 32″ wide
-
-
Jenny
Hi! What about the bottom cabinets? Where did you get those from?
-
Samantha
Hello! The bottom cabinets are from Ikea – but I had to trim them down shorter! They are the ivar cabinet https://signedsamantha.com/ikea-ivar-cabinet-hack/
-
-
Megan
Hi! What wood did you use for the top of the desk itself?
-
Samantha
Hi There! Here is my tutorial for the desktop: https://signedsamantha.com/diy-rustic-wood-desk-top/
-
-
Samantha
Hi! What color are the walls in that room?
-
Samantha
Hi There – the walls are Benjamin Moore – Decorators White and the built in colour is Benjamin Moore – Ashwood Moss. Hope that helps!
-
-
Angela
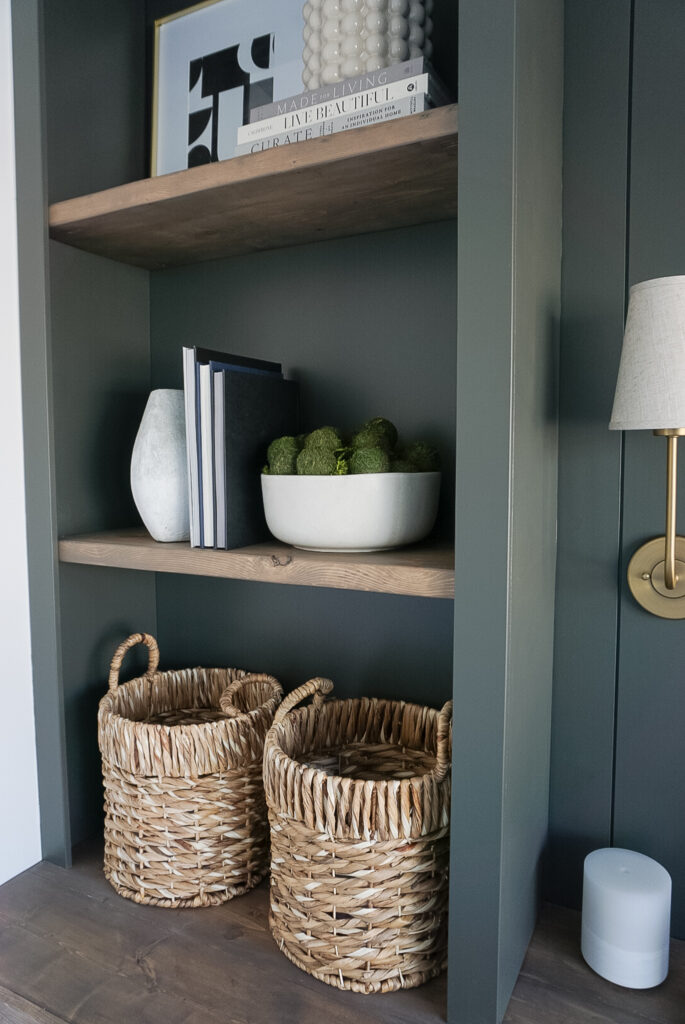
Hi Samantha! Where are your 2 baskets from on the bookshelf? Love those!
-
Samantha
Aren’t they the perfect baskets?! I got mine from HomeSense (same as HomeGoods if you’re in the USA). Not the best answer because it’ll require checking constantly! I hope you find them.
-
-
Danielle
Beautiful design!
Do you have a tutorial for the desktop? How did you make that/where did you purchase it?-
Samantha
I do have a tutorial right here! It is one of the easier DIYs in the office! https://signedsamantha.com/diy-rustic-wood-desk-top/
-
-
Melissa
Beautiful. What are the measurements please?
-
Samantha
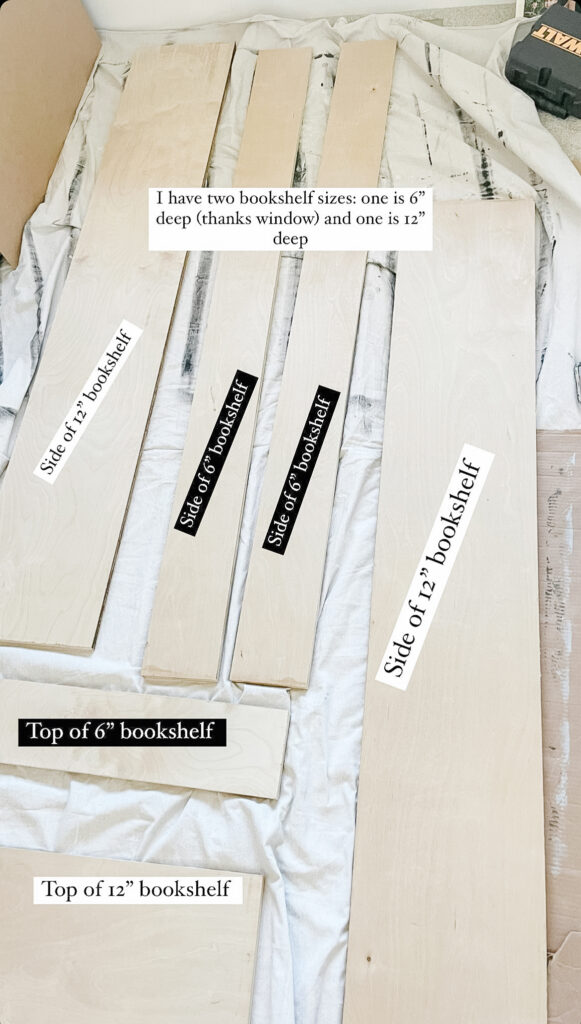
Thanks so much! One side of the bookshelf was 12″deep, 5.5′ high, and 32″ wide. The other side was 6″ deep, 5.5′ high, and 32″ wide.
-
-
Emilee
Hi I’d love this and would love a link to the rug. Thanks
-

Enna
I love it!
What paint color and brand did you use?
Thanks!