


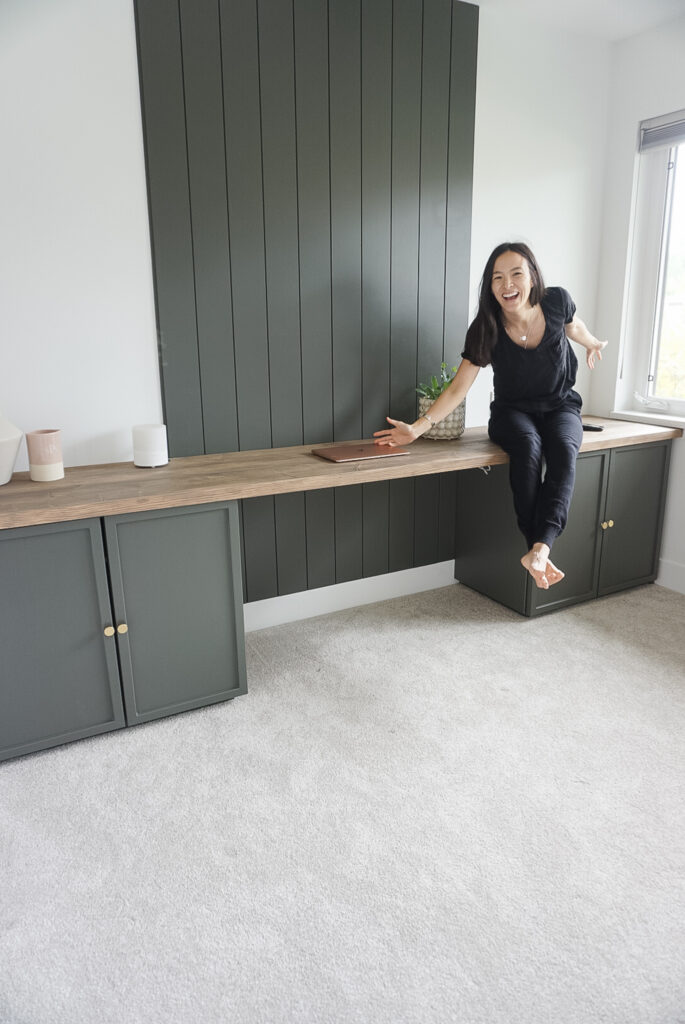
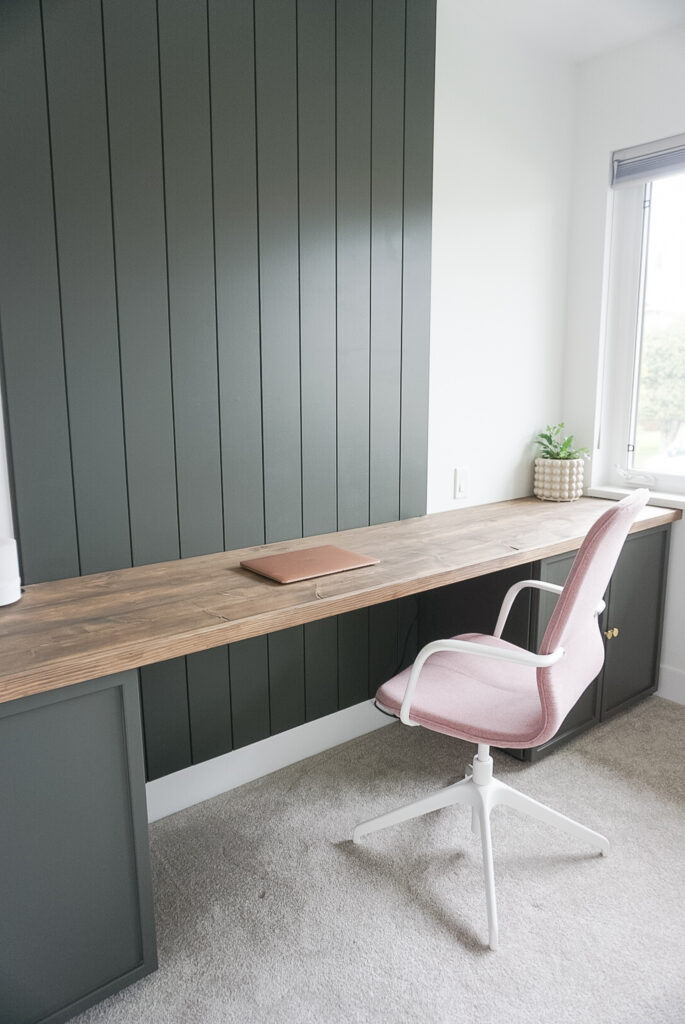


Ikea, the number one place for very affordable furniture that also happens to be very customizable.

You had to know that a DIY desk in this space wasn't the only thing that was going to cut it, right?
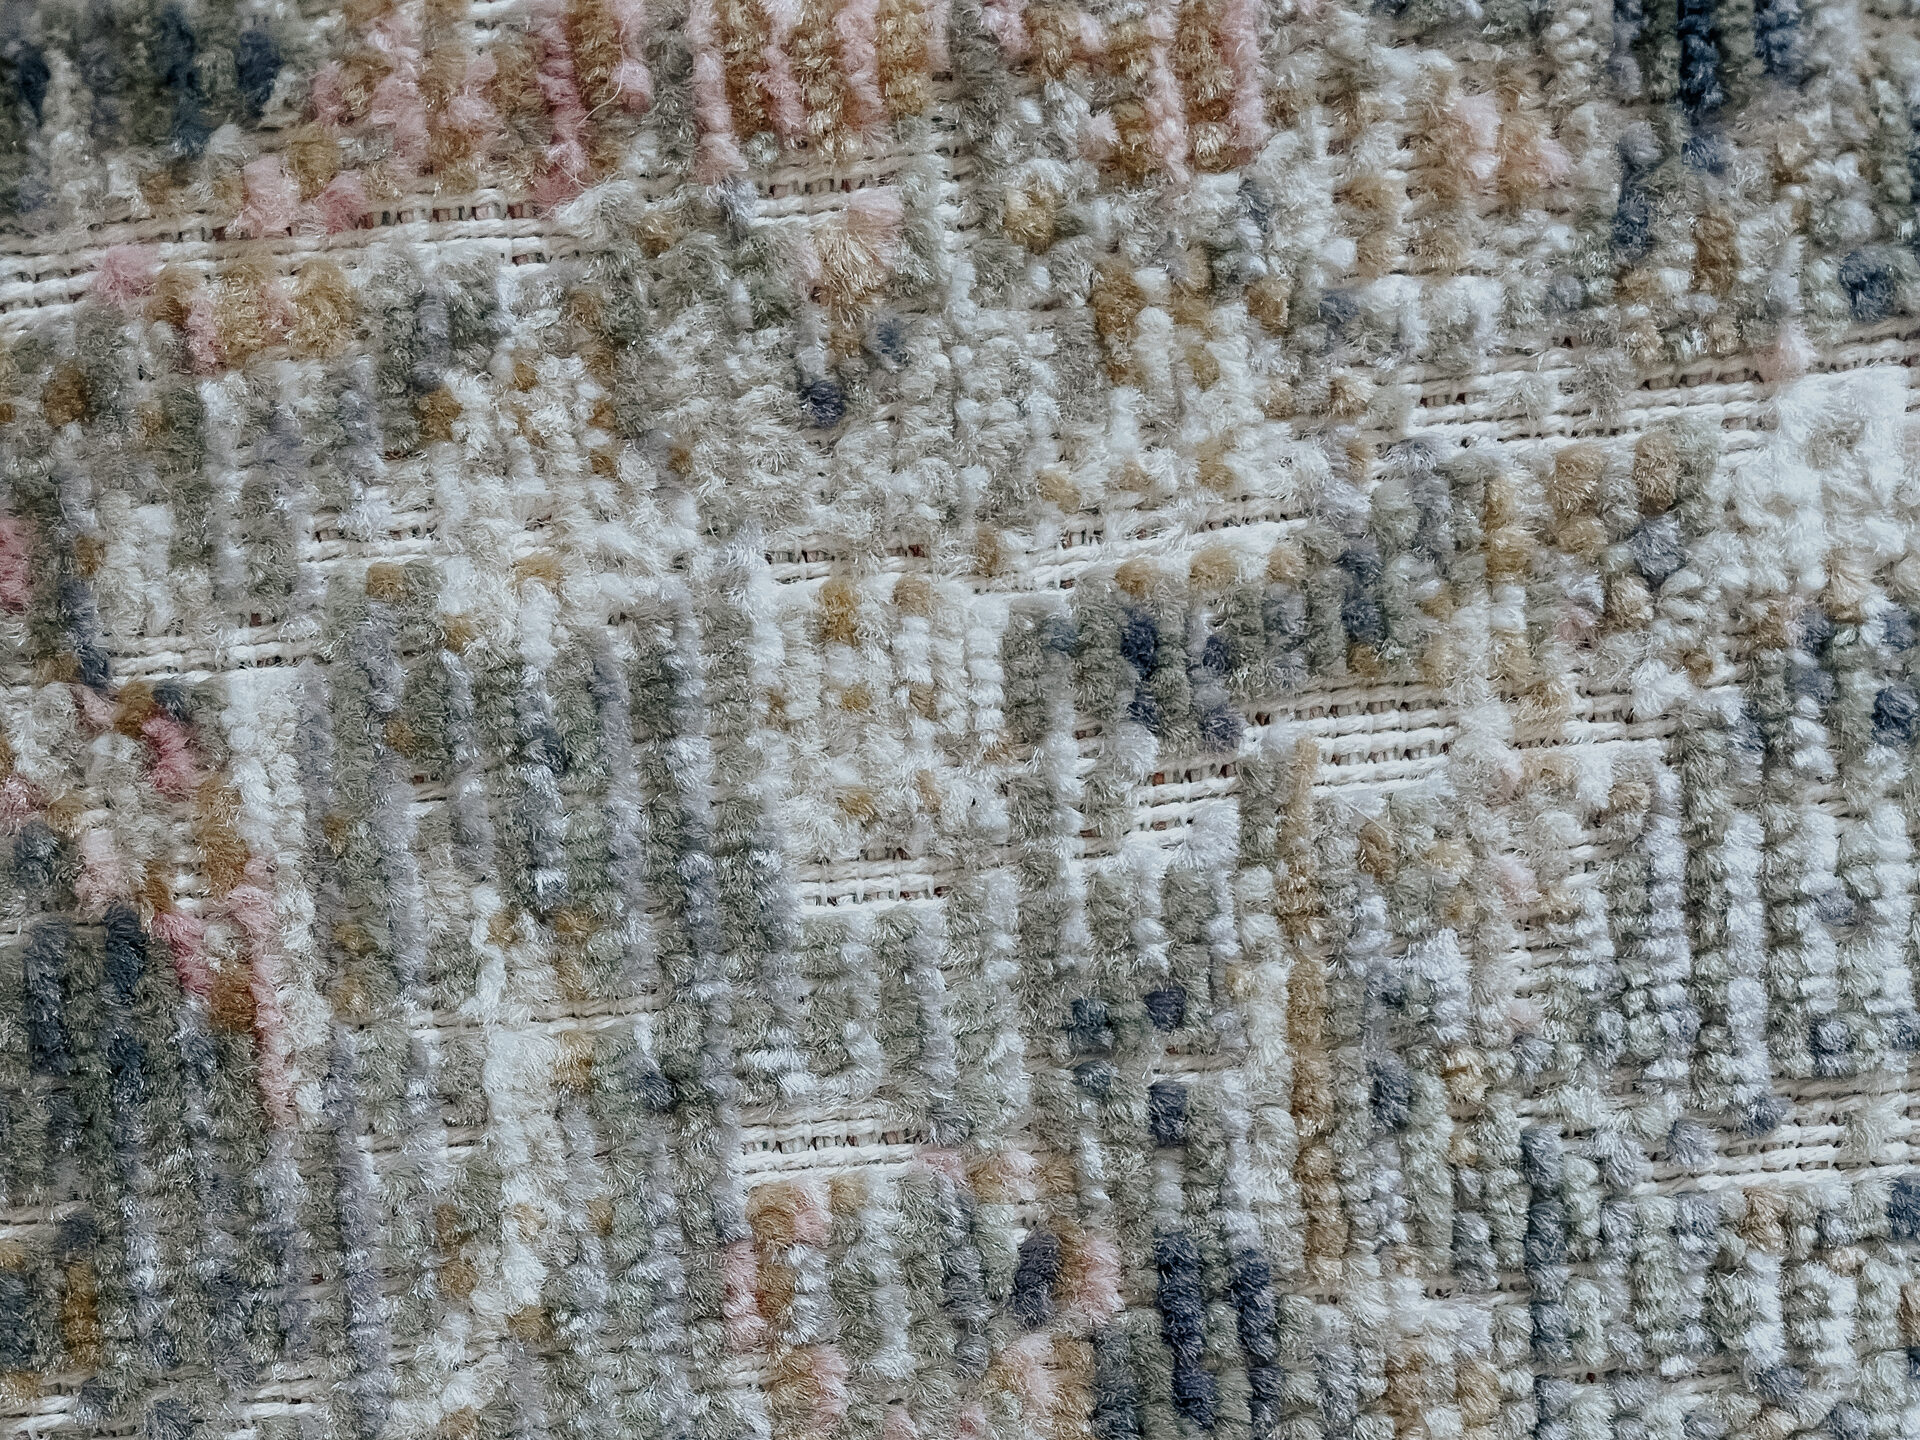
I've had the CLJ x Loloi Rosemarie rug for almost a year now. Come check out how it's holding up and
Comments
-
-
Samantha
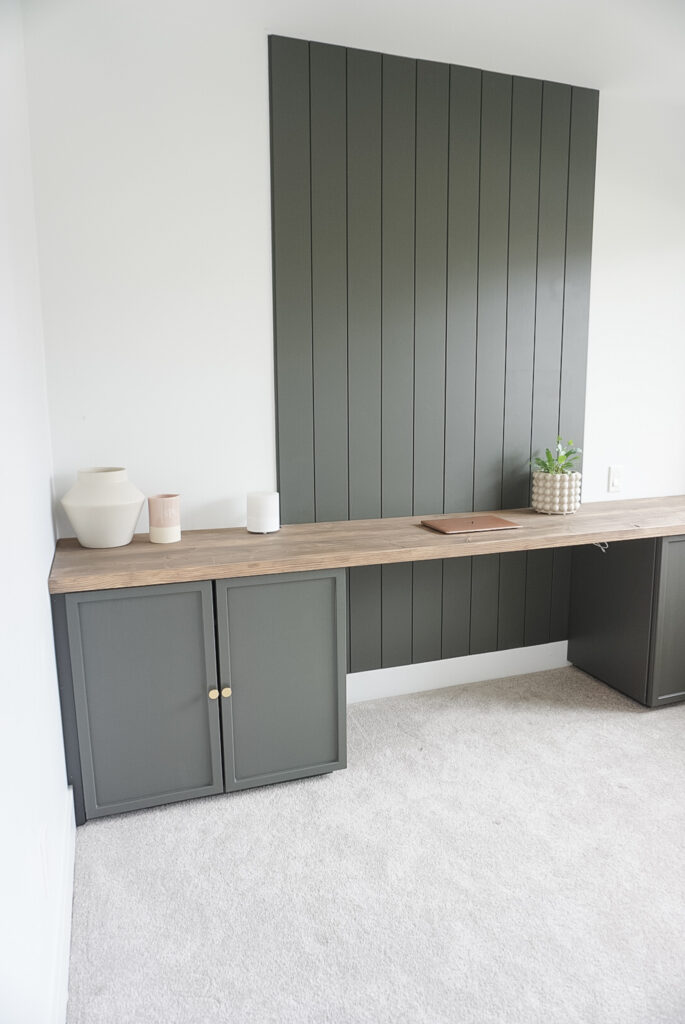
Thank you so much, Catherine. The colour is Benjamin Moore – Ashwood Moss!
-
Julia
Beautiful! Did you use a water based matte finish for your clear coat?
-
Samantha
Yes it was water based! It was the varathene matte clear coat (interior). Here’s the link: https://www.homedepot.ca/product/varathane-diamond-finish-premium-polyurethane-wood-finish-for-interior-water-based-in-matte-clear-236-ml/1000785169
-
-
-
-
Samantha
Thanks so much, Allie! Great question – what I mean is add your scrap wood onto the surface that your desktop will be on. For me, the desktop rests on the two Ivar cabinets, so I put two scrap pieces on either side of each of the Ivar cabinets to make sure the desk’s surface was level and so that it raised it enough for me to be able to put the front cap on without interfering with the doors of my cabinets. Does that make more sense?
-
-
Myra
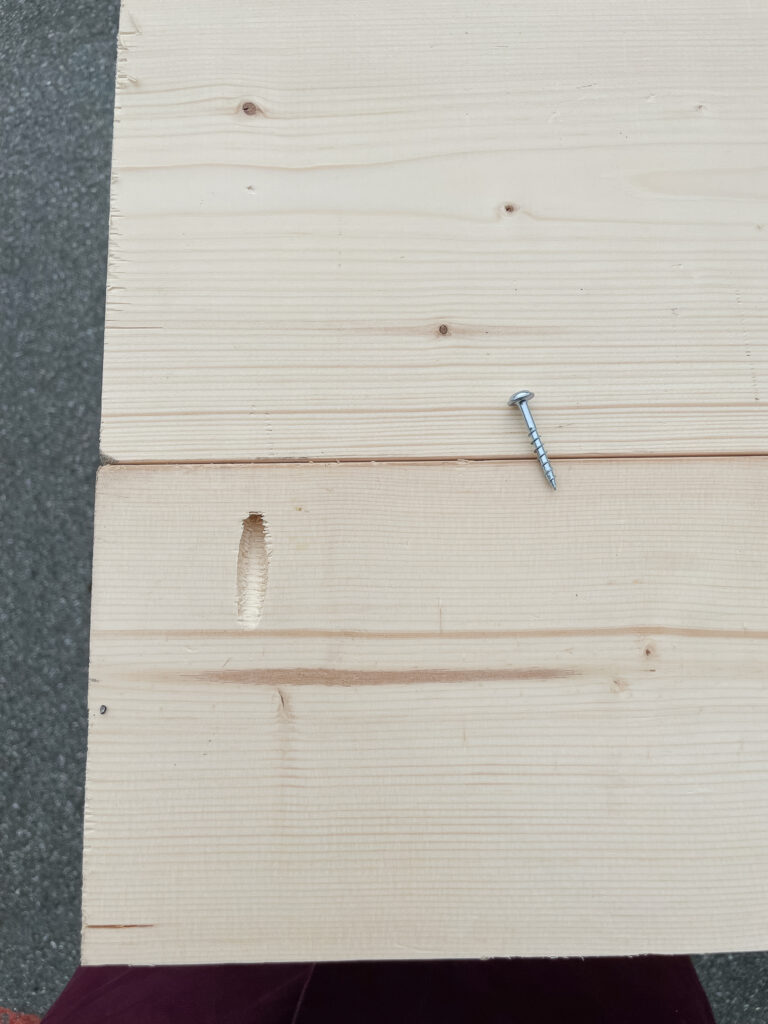
Hi Samantha, what’s the purpose of the 1x2x10 board? To extend the depth of the desk a bit more? or make the table appear thicker? Thanks!
-
Samantha
It’s the front cap to make the table top appear thicker!
-
-
Kenzie
Beautiful! Can you tell me the dimensions of the cabinets and where you got them? Thanks
-
Samantha
Thank you so much! I used the Ikea Ivar cabinets but they were far too tall for me so I had to cut them down to fit the room/height I needed. I hope that helps!
-
-
Lisa Roper
Hi,
Where did you get the cupboards from?
Thanks
-
Samantha
Hi Lisa! I used the Ikea Ivar Cabinets but had to trim them down as they were too tall for my space. If you can make them work for you, they are a great price! Here’s the link to what I did to them: https://signedsamantha.com/ikea-ivar-cabinet-hack/
-
-
Jessica
Hello! I’m wondering how long your wall is that you built this on? Just trying to decide if we need to make two desk areas or if ours would look similar to this.
-
Samantha
Hi Jessica,
Great question – my wall is about 10 ft long! I hope that helps-
Kristen
Hi Samantha, using this for my own DIY attempt. Did you ever think about using butcher block for the counter top? Wondering if it will save any steps or if it’s a bad idea
-
-
-
Doriane
Hello !! I love your desk ! Where are you find your boards ?
-
Samantha
I found everything at Home Depot!
-
Samantha
Hi Doriane,
Great question – I would be cautious of how heavy it might be in the middle – if your gap is smaller than mine it would probably work but the weight would be what would concern me. Otherwise, I think it would look really good!
-
-
Jasmin
Hi I love this and you are my inspiration for our office. As far as the desk top did you secure it to the wall or the cabinets?
-
Samantha
Hi Jasmin! I’m so honoured to hear that! I can’t wait to hear about how your office turns out. I actually didn’t secure the desktop to anything because I knew the weight of the bookcase and the snug fit I had would keep it in place – however, if I were to secure it, it would have been to the cabinets. Potentially from inside the cabinets so I wouldn’t see it on the top of the desk. Hope that helps!
-
-
Mayela
Looks INCREDIBLE!!!!! Do you think it would be possible to do like a wide peninsula desk in this space with the same wood and do the metal legs like in your other post? Kind of like this desk, but within that middle space between the two bookshelves you made. My wall is about 15 feet. Thanks in advance 🙂
-
Samantha
Thanks so much! You probably could! You’d just have some trouble accessing the cabinet under the peninsula portion but if that didn’t bother you, I don’t see why not!
-
-
Julie P
Hi Samantha, this has been great and we are recreating your cabinets/desktop. I have two questions about step 10. 1) Did you have any sort of seam when attaching the 1x2x10 to the rest of the desk and if so, did you do anything to that steam? 2) You said you stained your 1x2x10 after you affixed it to the desk. I worry that when I am staining the front piece, that I might get more stain on the desk and make it darker. Did you tape your desktop or are you just really good at staining! I’m not sure I trust myself!
-
Samantha
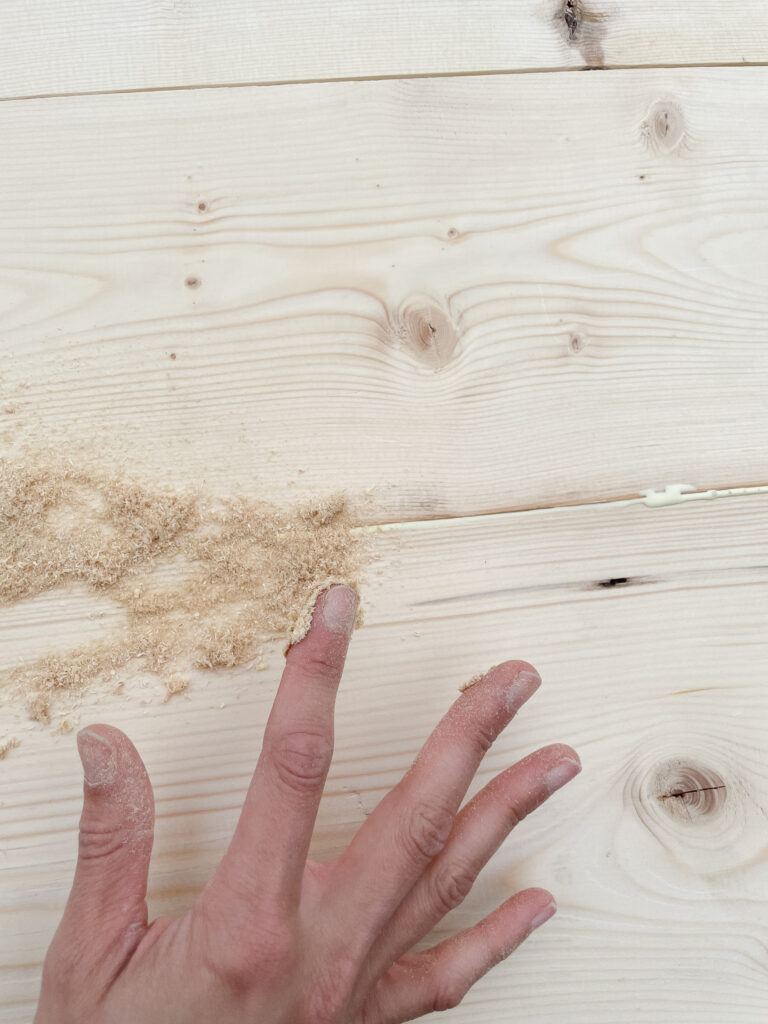
Hi Julie! I love to hear that!! I have a small seam – I left it but you could do the same thing I did to the rest of the desktop an fill it with woodglue and saw dust – you’d have to restain that section, of course. To stain the front cap, I did tape off the top of the desk. I am not that good of a stainer either. If you wanted you could totally stain it before and touch up where the nail holes are?!
-
-
Joscelyn
Hi there! We looooove this so much we are in the middle of a complete copycat recreation in our home office, even just ordered the exact hardware and my boyfriend is following your blog exactly!
We are wondering, did you find it necessary to seal the desk with any kind of top coat? I don’t see it in your steps but just wondering.
Thanks!-
Samantha
I’m so so honoured you’re recreating this in your home!!! I didn’t end up sealing my desk, but I really don’t do anything on it other than type. If I was writing more or had my daughter colouring/eating around it, I totally would have! I would have just used a matte, clear seal! I hope that helps!
-
-
Kati
What color did you paint the other walls that complimented the BM ash wood moss paint?
-
Samantha
The other walls are Benjamin Moore – Decorators White
-
-
Kayla
Hello! I see your desk is 10 feet long and 2 inches thick, but how deep is your desk? Is it as deep as your Ivar cabinet? Thank you in advance!
-
Samantha
Great question – I’ll add this to the post. It came out to almost 21″ (20 3/8″ with the front cap on it)!
-
-
Angela
Hi Samantha! I am having trouble finding the Flagship stain. from Verathane. Do you know another color that is similar?
Thanks!

Catherine
It is beautiful. What color green did u use on the walls and cabinets?