


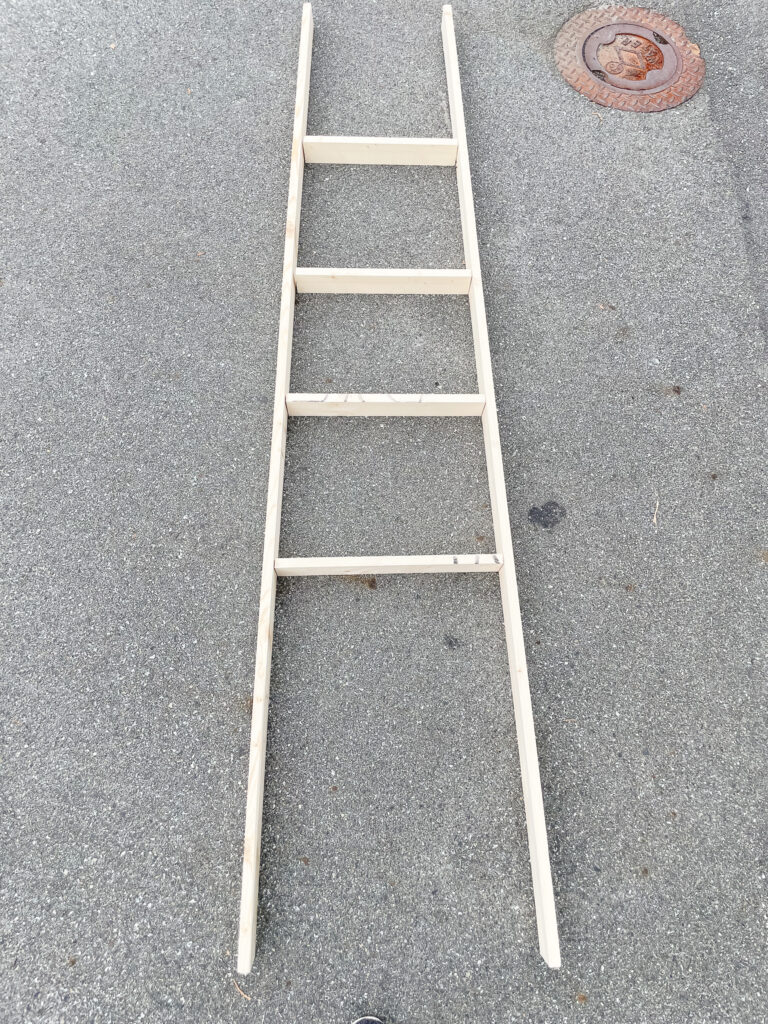
Plus, McGregor told me I can’t get any more blankets because “we don’t have anywhere to put them.” Solved that problem, now didn’t I! Genius-level thinking, I know.
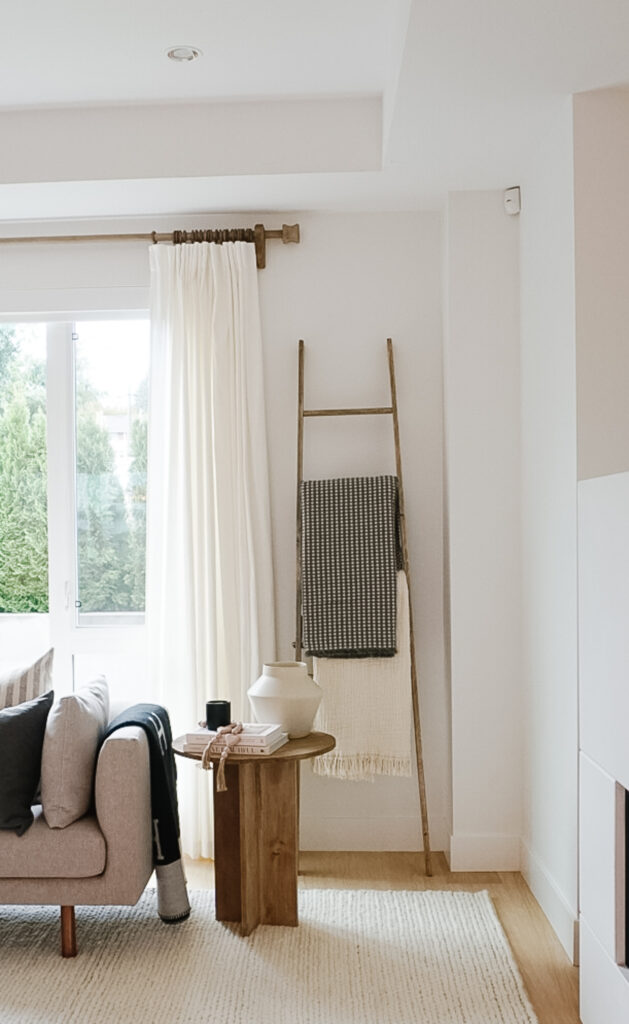
I’m sharing some pretty options below – but to be fair, mine was $15 and I think far prettier. But I’m biased….


I've been getting this question more and more - "I'm thinking of getting into DIY. What tools do you

Okay, Christmas decor is at a minimum in this house this year. I'm not feeling what I have but I'm a

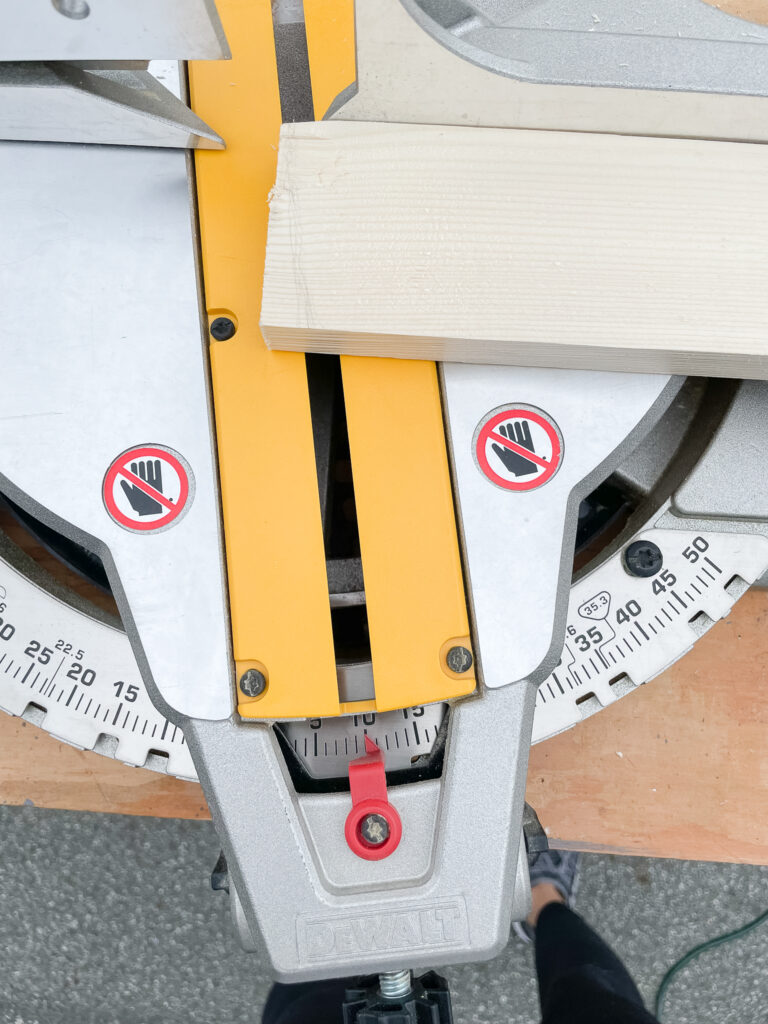
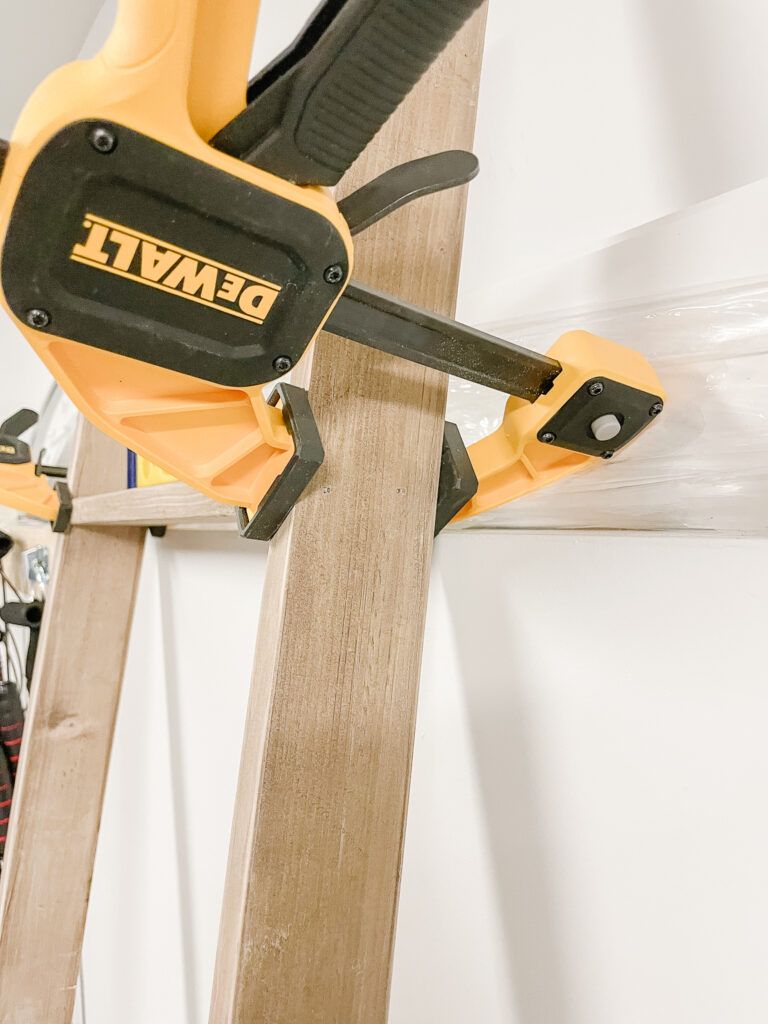
I did, I did it, I did it! My very second power tool project (…where I used the power tools myself

Leave a Reply