Whatever the furthest thing is from being good at DIYs is what I am. I traditionally steer far, far away from DIYs, unless I have someone crafty over guiding me/mostly doing it for me. My domain is in the kitchen, and there I am highly comfortable.
However, on occasion, I get these crazy ideas in my head; ideas where I think I could make something that will look nicer (or be less expensive) than something I’d buy. And now I’m here, about to give you a lesson on how to make a wreath, step-by-step.
Have I lost my mind?! Probably yes. But if there’s anything I’ve learned on this planet, its that if you want something done right, do it yourself and make it up as you go. If you do it wrong, redo it until you get it right.
Lucky for you (actually, mostly me), this one worked out fabulously, on the first try, and its EXACTLY what I wanted for our front door. I may venture to make a second one for the back door. I mean, now all I would need to do is follow my step by step instructions on how to make a wreath.
Who knows, maybe I’ll be DIYing more things up in here. I do have a ton of ideas on my Pinterest!

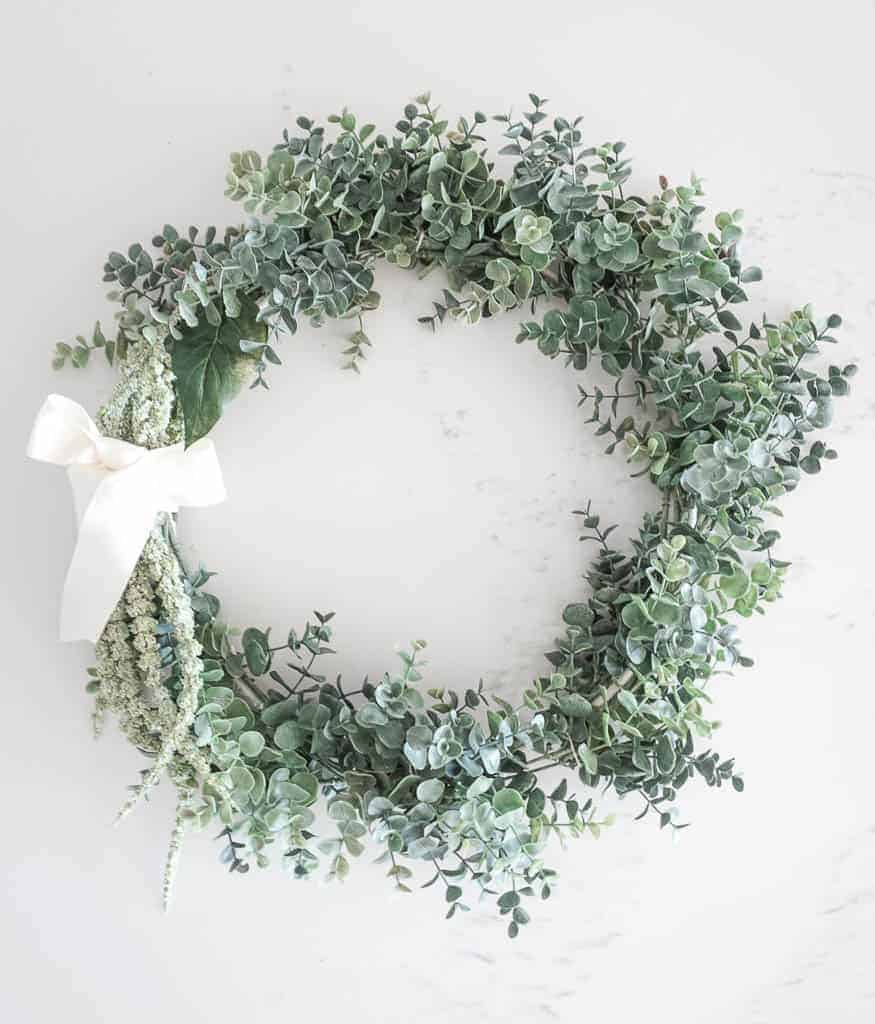
A Simple DIY Eucalyptus Wreath
At the front door, I wanted simplicity and beautiful greenery. I have an unhealthy obsession with eucalyptus, and the second it popped into my head, I knew what my wreath was going to be made out of.
I figured by the time I found exactly what I wanted, it would cost a freaking fortune, so off I went to Michaels to see what I could find to make myself. I won’t deny that I didn’t look feverishly around the store first to see if there were any pre-made ones. Spoiler alert – no luck!
In my frantic hunt, I did find this beautifully shaped and coloured eucalyptus. I knew my density included making my own wreath at that point.

This Wreath Can Be Used All Year Round
I also knew I wanted something with longevity, and that could withstand seasonal and holiday changes.
This means I’ve come a long way in the past year as I started out thinking that wreaths were only for Christmas. Who knew they could be used all year round?
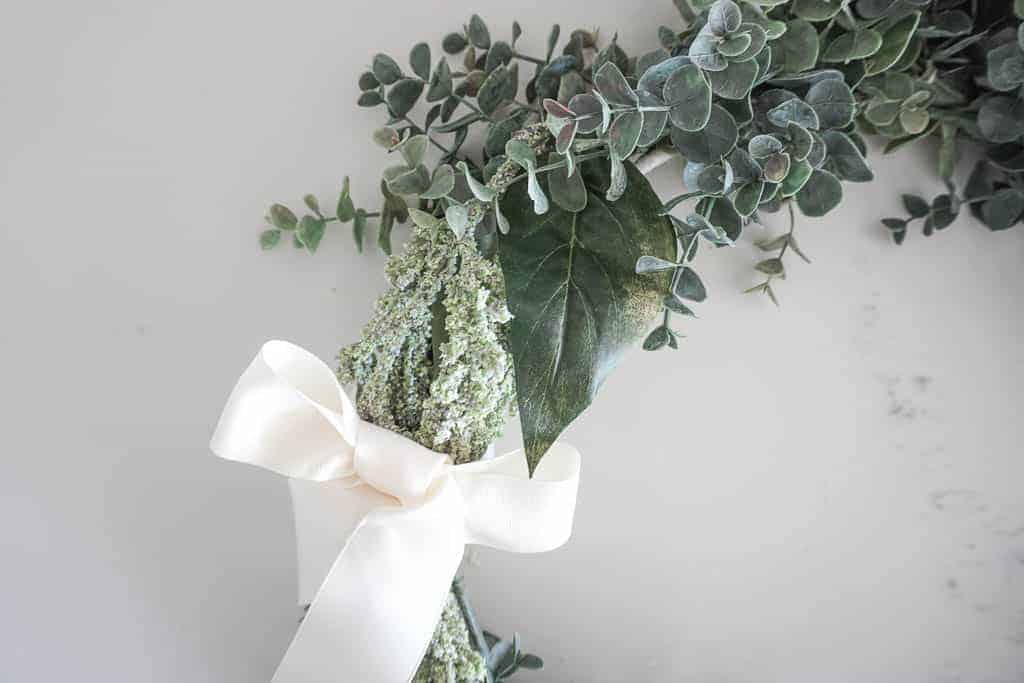
So my non-creative, non-DIY brain went to work and figured out that this ribbon – also incredibly cute – would serve as my gateway into all of the seasons or holidays:
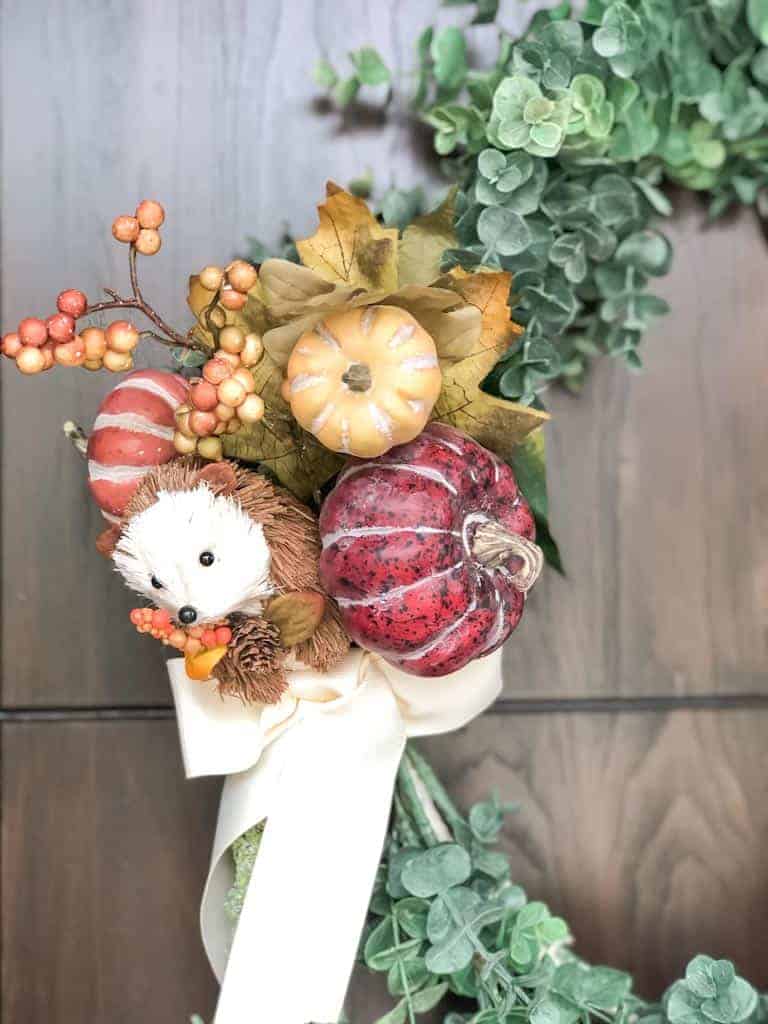
+ fall or thanksgiving wreaths (pictured below)
+ winter or Christmas wreaths
+ valentines wreaths (why the heck not right?!)
+ Easter wreaths
+ spring or summer wreaths
Gosh, the possibilities are endless.
Half of this requirement for versatility comes down to storage (or lack thereof), a quarter comes down to the fact that I don’t want to re-make a wreath every season, and another quarter comes down to Sloane. I would say it’s pretty cool to be able to share the magic of holidays with your daughter, and I’m excited to deck out the house for each holiday as she continues to understand more and more. But let’s get real here, I still mean subtle decorations that are super cute.
That is this entire wreath. Subtle, cute, suitable all year round, and so easy to make.
Are you sick of my rambling and ready for me to teach you how to make a wreath, step-by-step?! I’m more than ready too!
I’ll apologize in advance about the youtube video situation. I filmed this for Instagram, but haven’t figured out how to get my Instagram reel to show up here! So we are stuck with this oddly shaped youtube video.

How to Make a Eucalyptus Wreath Step By Step
Materials
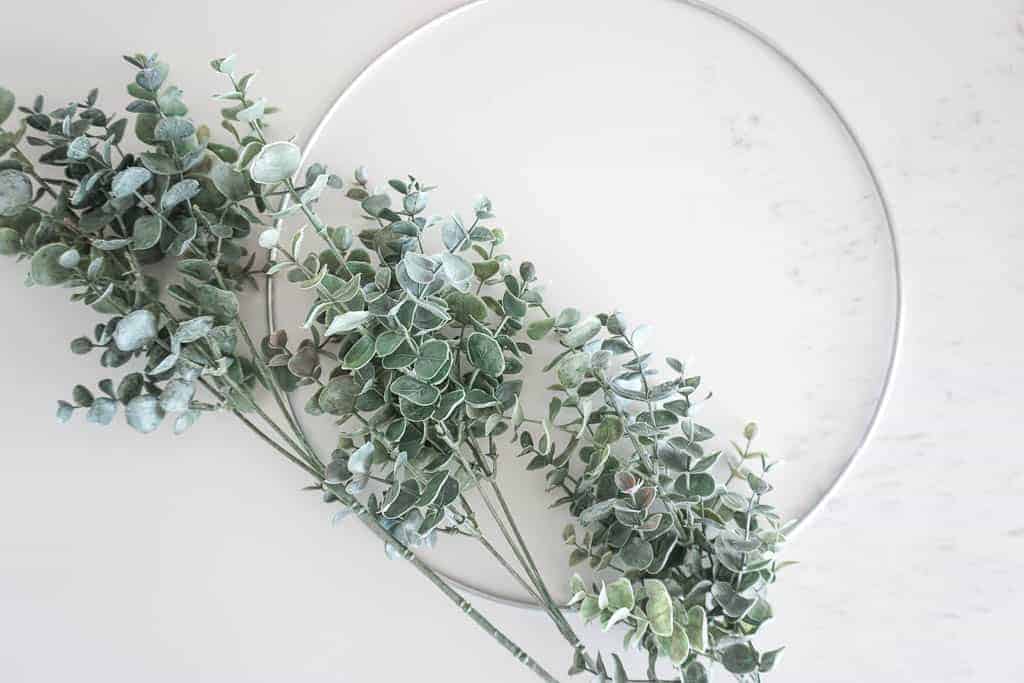
+ One 14 inch floral hoop
+ Eight Eucalyptus Bunches
+ One Amaranthus Stem
+ Ribbon, the color of your choice (I did Ivory)
+ Neutral color twine (I did Ivory again)
+ Hot glue gun (or heavy-duty glue)
+ Scissors
+ Wire cutters
Optional Seasonal Ideas
+ Fall Decor (Pumpkins + Hedgehog)
+ Holiday Decor (Snowy Pinecones + Santa)
+ Spring/Summer (peonies or hydrangeas)
+ SO many options for various holidays and/or times of year
Instructions
1. Take your floral hoop and hold the end of the twine in place.
2. Begin wrapping your twine over that end such that it stays in place.
3. From there, continue wrapping your twine in snugly in circles until you fully cover the metal hoop. Cut off the excess twine once you are done and hold it in place.
*There is one thousand percent an easier way to do this than what I did. But I would wrap the twine around the hoop a few times and use my fingers to tighten it and bring it right next to into the rest of the twine that’s wrapped. Then my mom stepped in, and it was much more comfortable with two people. She wound twirl the twine around, and I made sure it was tight, and no metal was showing.
4. Heat your glue gun. Once your glue gun is heated, glue the end of the twine in place. You can also use crazy glue or another alternative that would work quickly.
5. Lay your hoop down flat and begin to plan out your branches. Once you have a general idea of where everything will go, begin to wrap your eucalyptus branch and stem around the hoop.
6. Align your next branch with the bottom of the first, and wrap the stem around the metal hoop.
7. Repeat with remaining eucalyptus branches. Sometimes, pieces will not stay in place, and if they don’t, or just aren’t sitting exactly where you want, take a bit of twine and tie the eucalyptus tightly in place. I had thought about using a glue gun here, but I don’t think it would have held, plus the twine is no mess.
8. Once you’re at the end, you should have a little space left for your amaranthus. Repeat wrapping the stem around the ring and tucking the top in and/or tieing it down so it won’t go anywhere.
9. Examine your wreath and adjust any spots you are not happy with by using twine to tie pieces into place.
10. Once you are happy with the placement of all of your greenery, tie a bow around the amaranthus stem using the ribbon. This ribbon will be the spot that you can pop your seasonal decor into and out of!
11. Complete with the seasonal decor of your choice or leave it as is, because it is mighty pretty!


My shiplap wall is done done done, and I couldn't be more in love with how nicely it warms up the ro
W ell, in true Signed Samantha fashion I am slowly making my way through the start of the One Room C
Based on last years' One Room Challenge (my home office, in case you forgot!), y'all should know I'm


Pingback: DIY Inspiration to Level Up Your Home - Samantha Potter Home