


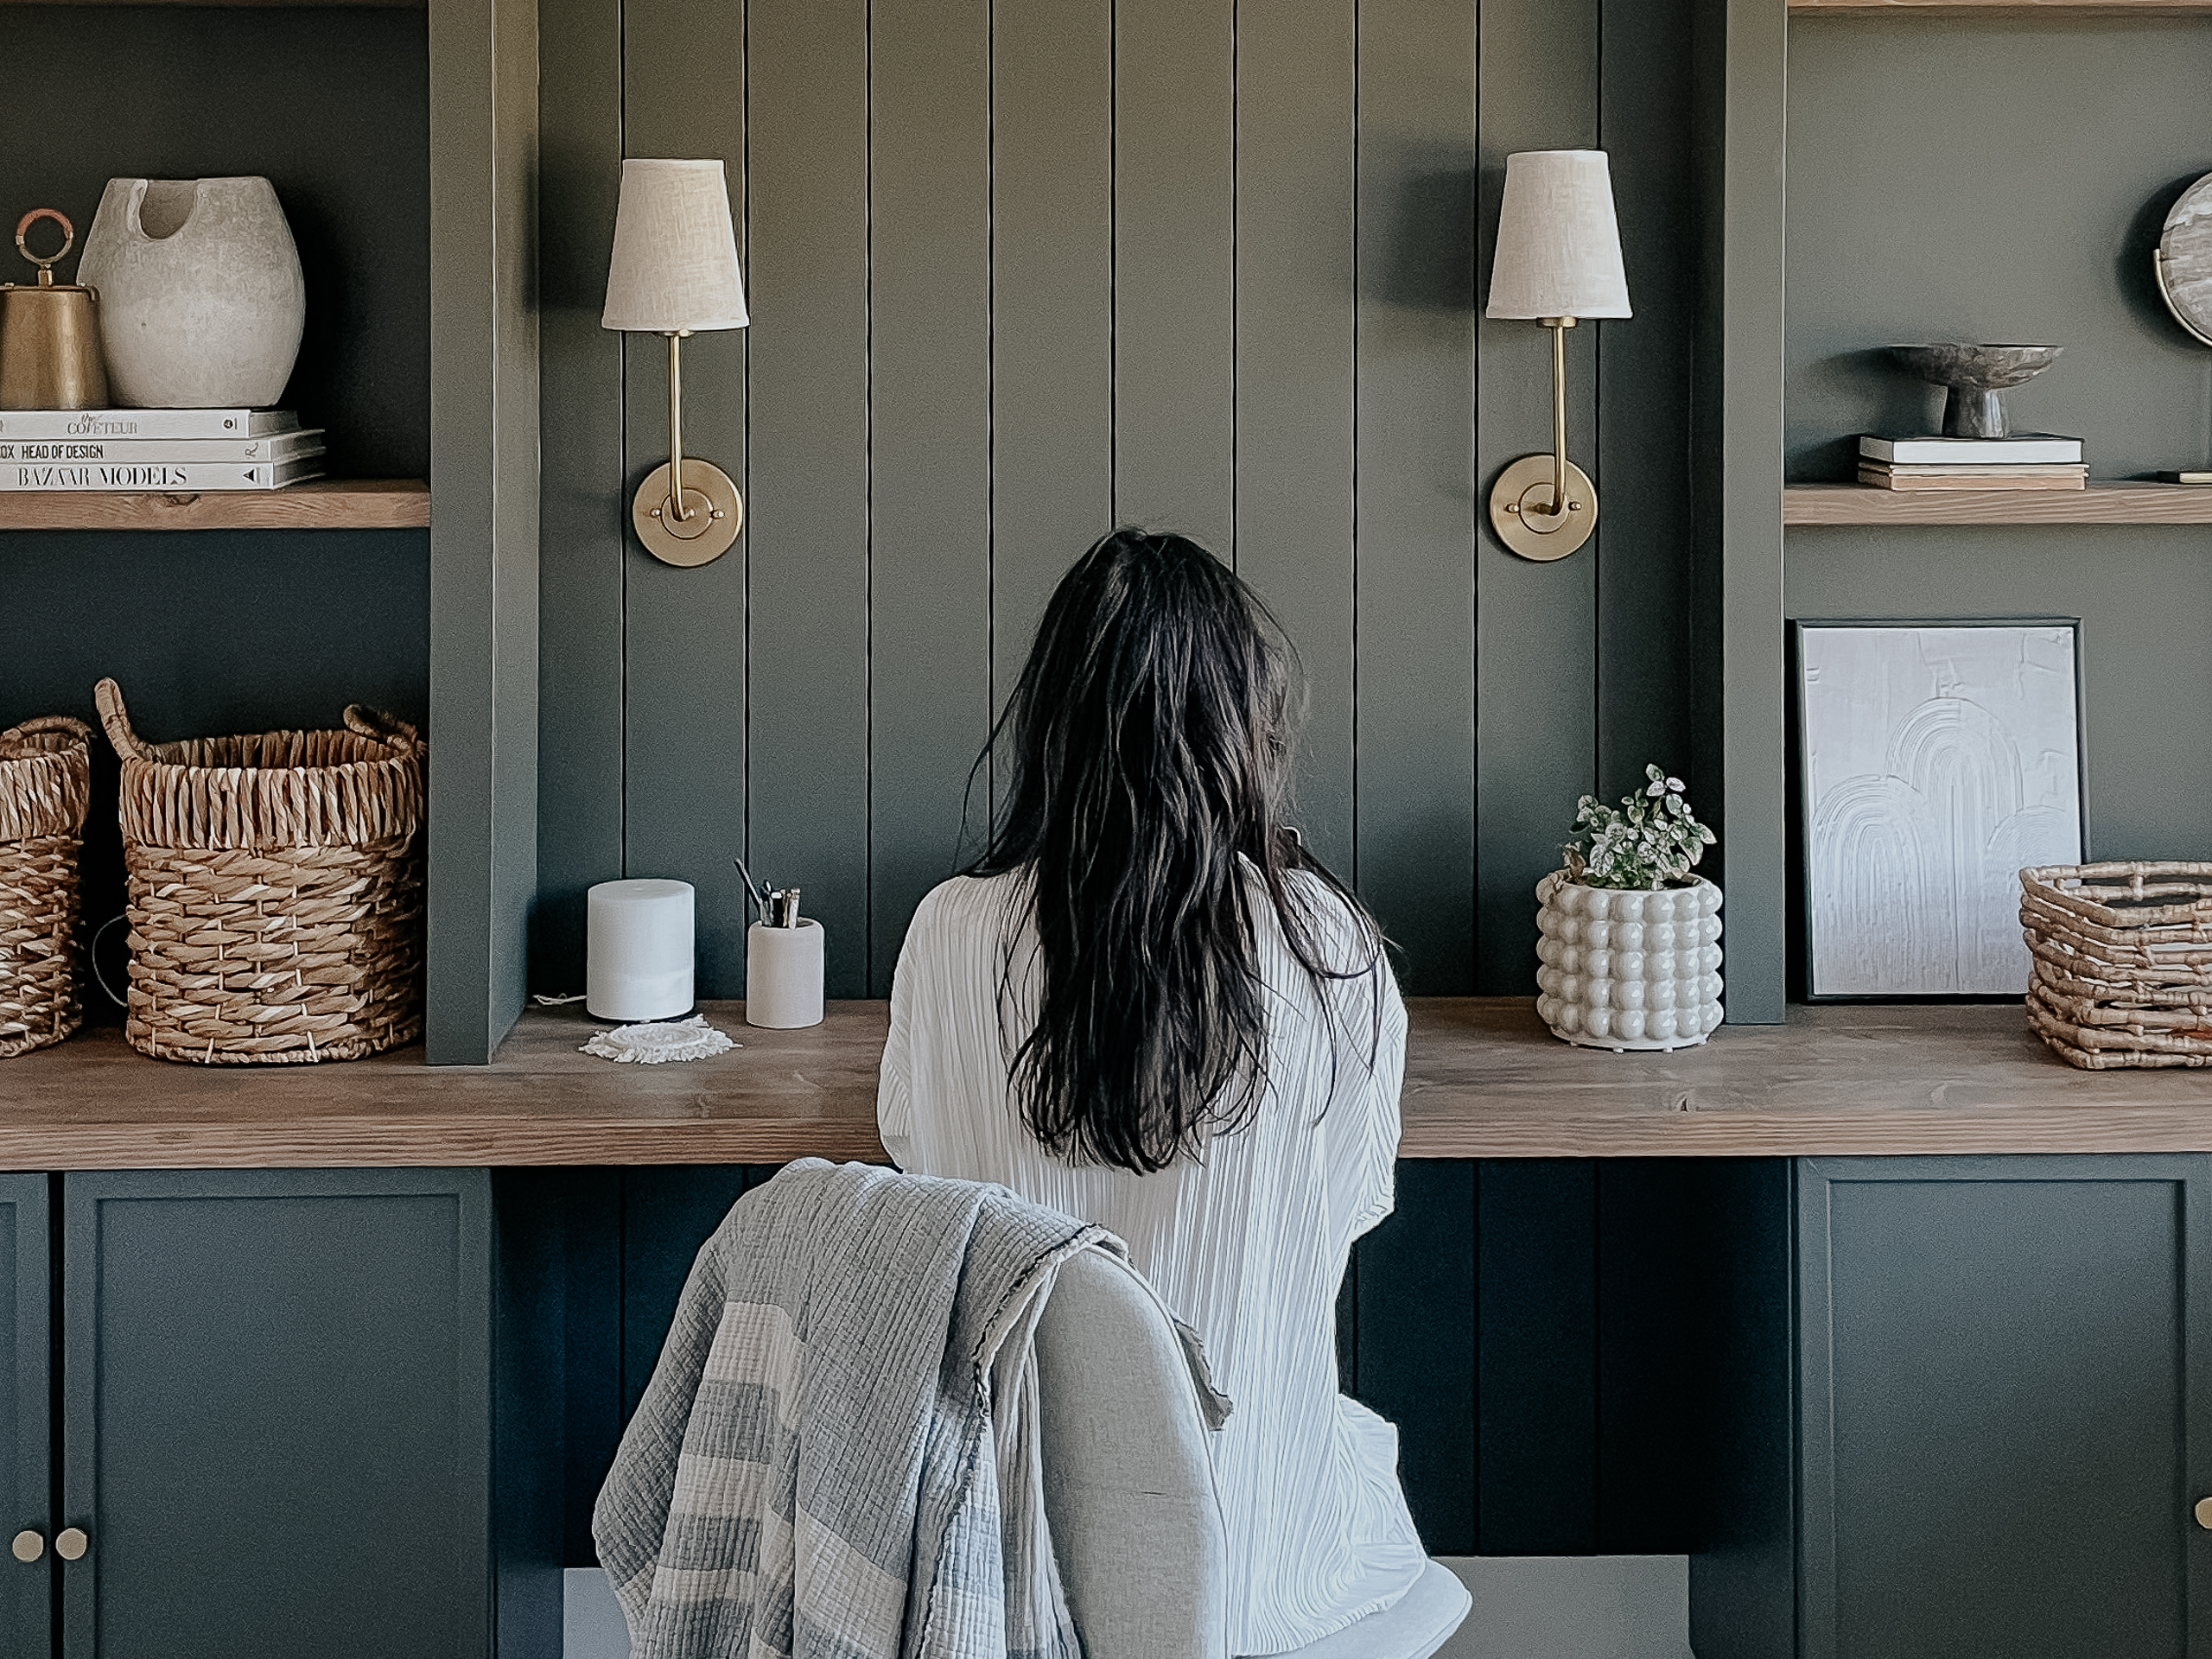
My first full-room makeover and my pride and joy is most certainly my home office space. I completed
Garbage here, random papers there, junk zone over here - sound familiar? No doubt this can happen ev

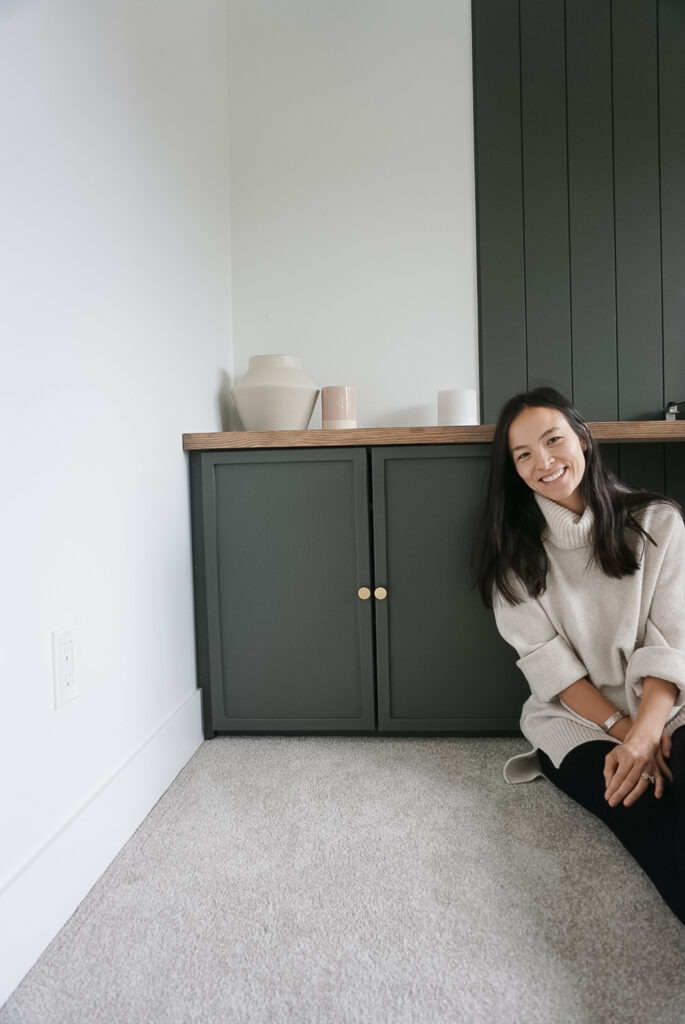
I f you need a functional space that works as your home office and as a guest room, this reveal is o
Comments
-
-
Samantha
Hi There! I made it! The post can be found here: https://signedsamantha.com/diy-rustic-wood-desk-top/
-
-
Lauren
What color cabinets did you purchase? Did you have to sand, prime and then paint?
-
Samantha
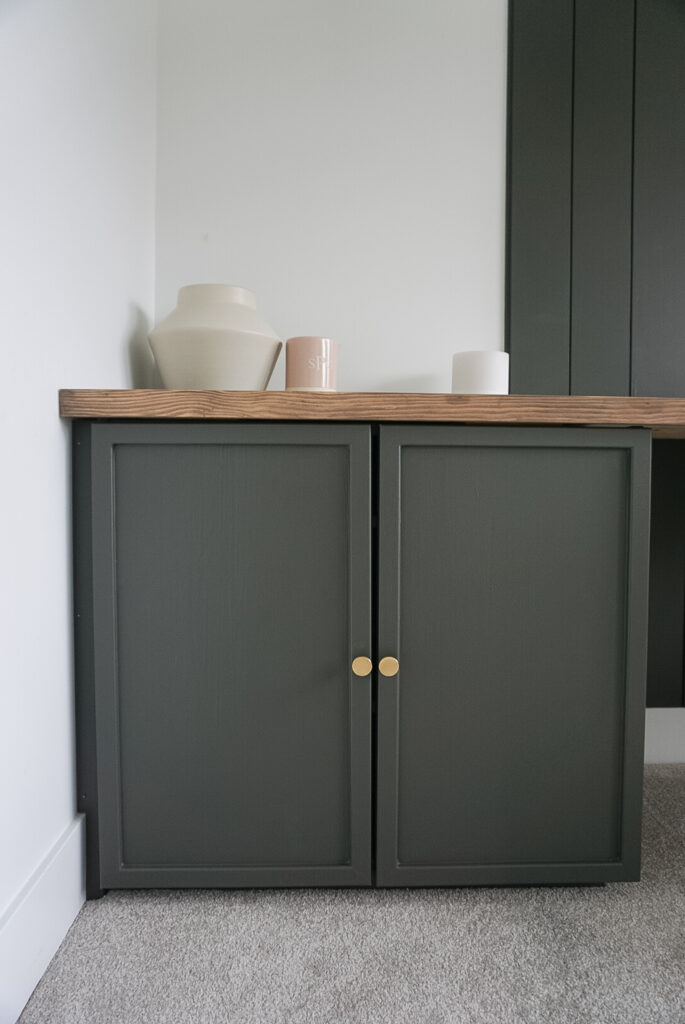
I got the Ikea Ivar cabinets in a size I no longer think is in stock – they were raw pine so I didn’t need to sand – but I did prime, then paint! The paint I used is Benjamin Moore Ashwood Moss.
-
-
Colton Butts
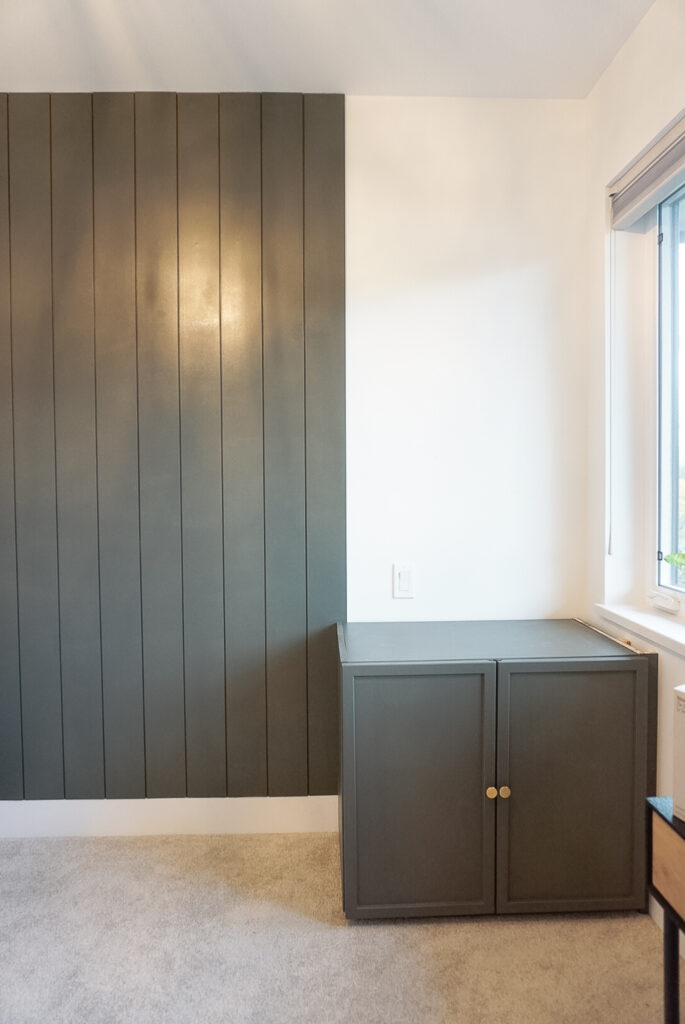
Hi, what did you do to make the cabinets flush against the wall on both sides with the trim there?
-
Samantha
Really great question – I have it mapped out about half way through on this IG highlight (https://www.instagram.com/stories/highlights/17971053802453100/). Basically, I used a scrap piece of wood and screwed it into the wall so my trim piece could be nailed into it and be flush against the cabinet. I hope that makes sense! My little diagram on IG might be more clear!
-
-
Liz Wallis
Thinking of doing same in my home office, we’re did you get the book cases on either side from please, are they also IKEA ?
-
Samantha
I made them! They were pretty easy to DIY! https://signedsamantha.com/diy-built-in-bookshelf/
-

CC
Hi,
Where did you find the thick wood topper in that length?