
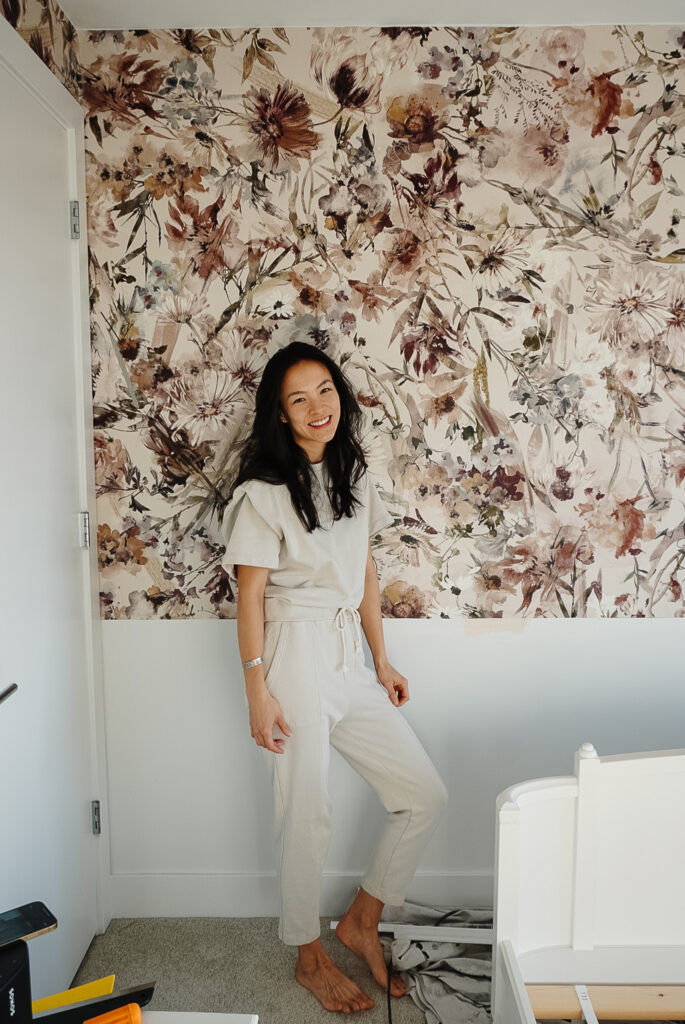
What’s needed right now is a moment of appreciation for the beauty that is this wallpaper. A quick head nod, a nice sigh of satisfaction, I’ll take whatever you’re giving. I will say that it’s even more gorgeous in real life and although there is a lot I need to do in here – aka install the crown moulding, the chair rail, the box moulding, and paint – I’m already head over heels in love with it and the way that it’s transformed my daughter’s room. You can keep following along on IG to see how the rest is coming together, but if you’re here to learn about installing wallpaper, you’re in the right place because I’m about to run through it with you.
Peel and Stick Wallpaper vs. Glue-Based Wallpaper
If you’ll recall, I have done a post on peel and stick wallpaper and my initial experience with it was – challenging – to put it mildly. I did take on a powder room – which apparently is the hardest room to take on – and the quality of the paper, I have come to realize wasn’t quite where I needed it to be to look as pristine as I would prefer. Quality is something you need to look for in both peel and stick and glue-based wallpaper – particularly you’re looking for the thickness of the wallpaper and I would suggest doing that with samples whenever possible.
I digress – peel and stick wallpaper is just that, one where you peel and stick. It is more challenging to move around, align properly and smooth out (IMO) but is great if you need it to be removable at any point. Installing wallpaper (glue-based) is something that is easier to manipulate when you have it placed on a wall but it can be quite the challenge to remove when the time comes (so I’ve heard – I’m sure I’ll experience it several years down the road now).
So the choice is really yours for what you want to and what is possible to take on in your space. For the time being, I’ll give you. My tutorial on installing wallpaper – specifically installing glue-based wallpaper.
What You Need to Install Glue-Based Wallpaper
I did order my wallpaper through Photowall Sweden (Bohemian Blossom) – they gave me a coupon code -Samantha25 – that is valid until March 2022. In my order, I included the wallpaper kit (but needed a few additional items which I will add an asterix * to so you know what wasn’t included). I will also say, that likely every glue-based wallpaper has it’s own set of instructions to follow. I almost followed these instructions but found some easier methods along the way.
Here’s what I found useful when installing wallpaper (glue-based):
- Wallpaper (duh)
- Wallpaper Smoother * (I got the premium version and tested the smoother on a small patch first)
- Glue (generally provided by the wallpaper company)
- Paint tray + roller *
- Craft paper *
- Exacto knife
- Cutting guide
- Pencil
- Laser level * or level
- Tape measure

Installing Glue-Based Wallpaper
- Prep your roll of wallpaper – you will definitely need to roll them out, but you may also need to cut the pieces. Make sure that you’re clear on which directions pieces go in and which connect where (especially when you’re turning a corner on the wall).
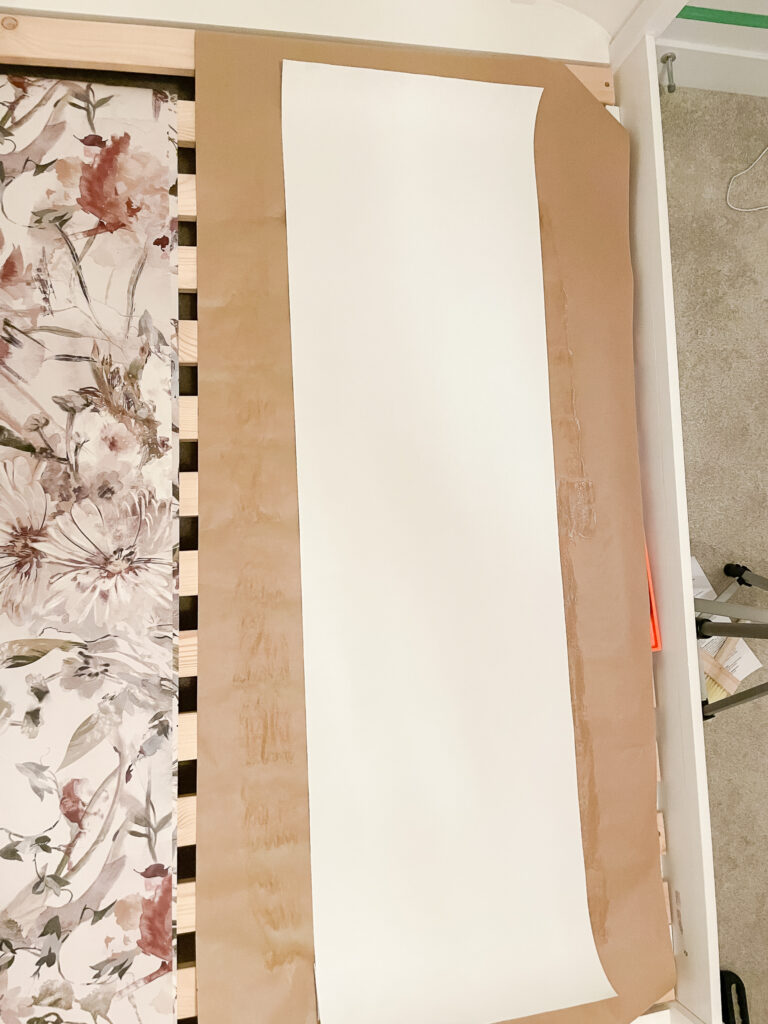
- Prep a piece of craft paper that’s longer and wider than your wallpaper. Put it on a flat surface.
- Get your glue ready – the Photowall glue required warm water, stirring and 5-minutes of sitting time. Follow the instructions for the glue you are provided.
- Get your wall ready – using your tape measure, mark the wall one panel-width wide. I actually like to do 1/16-1/8th smaller – I can trim the sides down and then have two very seemingly straight lines (you know, since walls are rarely straight you can still give the illusion it is straight). I then aligned my laser level with this mark. If you don’t have a laser level, make a few of the tape measure markings, use a level and draw a straight line.
- Get ready to paste your first panel. I start from left to right on my walls. I also like to start on a wall with the fewest obstacles so you can get a feel for your wallpaper. Use your roller and paste the wall – just past your markings/laser level, then paste the back of your first panel (pop the panel onto the craft paper!).
- Place your panel on the wall by lining up the right corner of your panel with your marking. Use your wallpaper smoother to smooth it out as you go.
- Grab your next panel and repeat. But this time, once it is pasted, you’re going to line up the patterns of your wallpaper. I start at the top and work my way down the side until I’m 1.5-2 ft down. Once I have the sides lined up, I then smooth it out moving the smoother from the left side upwards, or from the left to the right. I go slowly and gently. Sometimes this takes a few tries/minor adjustments. I keep working my way down with this method (but eventually I don’t smooth upwards – it’s either down or to the right).
- Repeat this until you reach the corner. At the corner you will need to trim the piece, and then you can wrap the rest around. Follow the same method (line up the pattern, smooth up/down and to the right. Once you’re generally happy with how things are aligned, take your smoother and push the paper as hard as you can into the corner. Grab your exacto knife and cut along the wallpaper scraper. Smooth out the wallpaper.
- Then, glue the next wall, and from the corner piece you just cut off, align the patterns back up (sometimes I find the smallest overlap necessary here) – and start your next wall.
- When you hit things like an electrical outlet, windows, doors, etc. take a similar approach with the exacto knife as noted above. I like to keep my wallpaper generally intact until I know it’s in the right place then I trim it. For example, going over an outlet, I remove the cover, then wallpaper smooth it out around the outlet, then use the inside of the outlet as my guide for the exacto knife. I trim out the inside and then trim off excess as needed. This part is definitely an art and takes practice. If you still have a sample piece or know you’ll have extra (from a window etc.) I would practice with it over the outlets.
- Repeat until you’ve finished up your room. Then, you’re a magician and you did it!!

R efinishing furniture has to be one of those things that people either love or hate. I'm certa
You're mentally ready for spring, but is your garden?! It totally needs something more. Perhaps a cu
M ore progress has been made in home office 2.0. We have a complete murphy bed situation along with




Leave a Reply